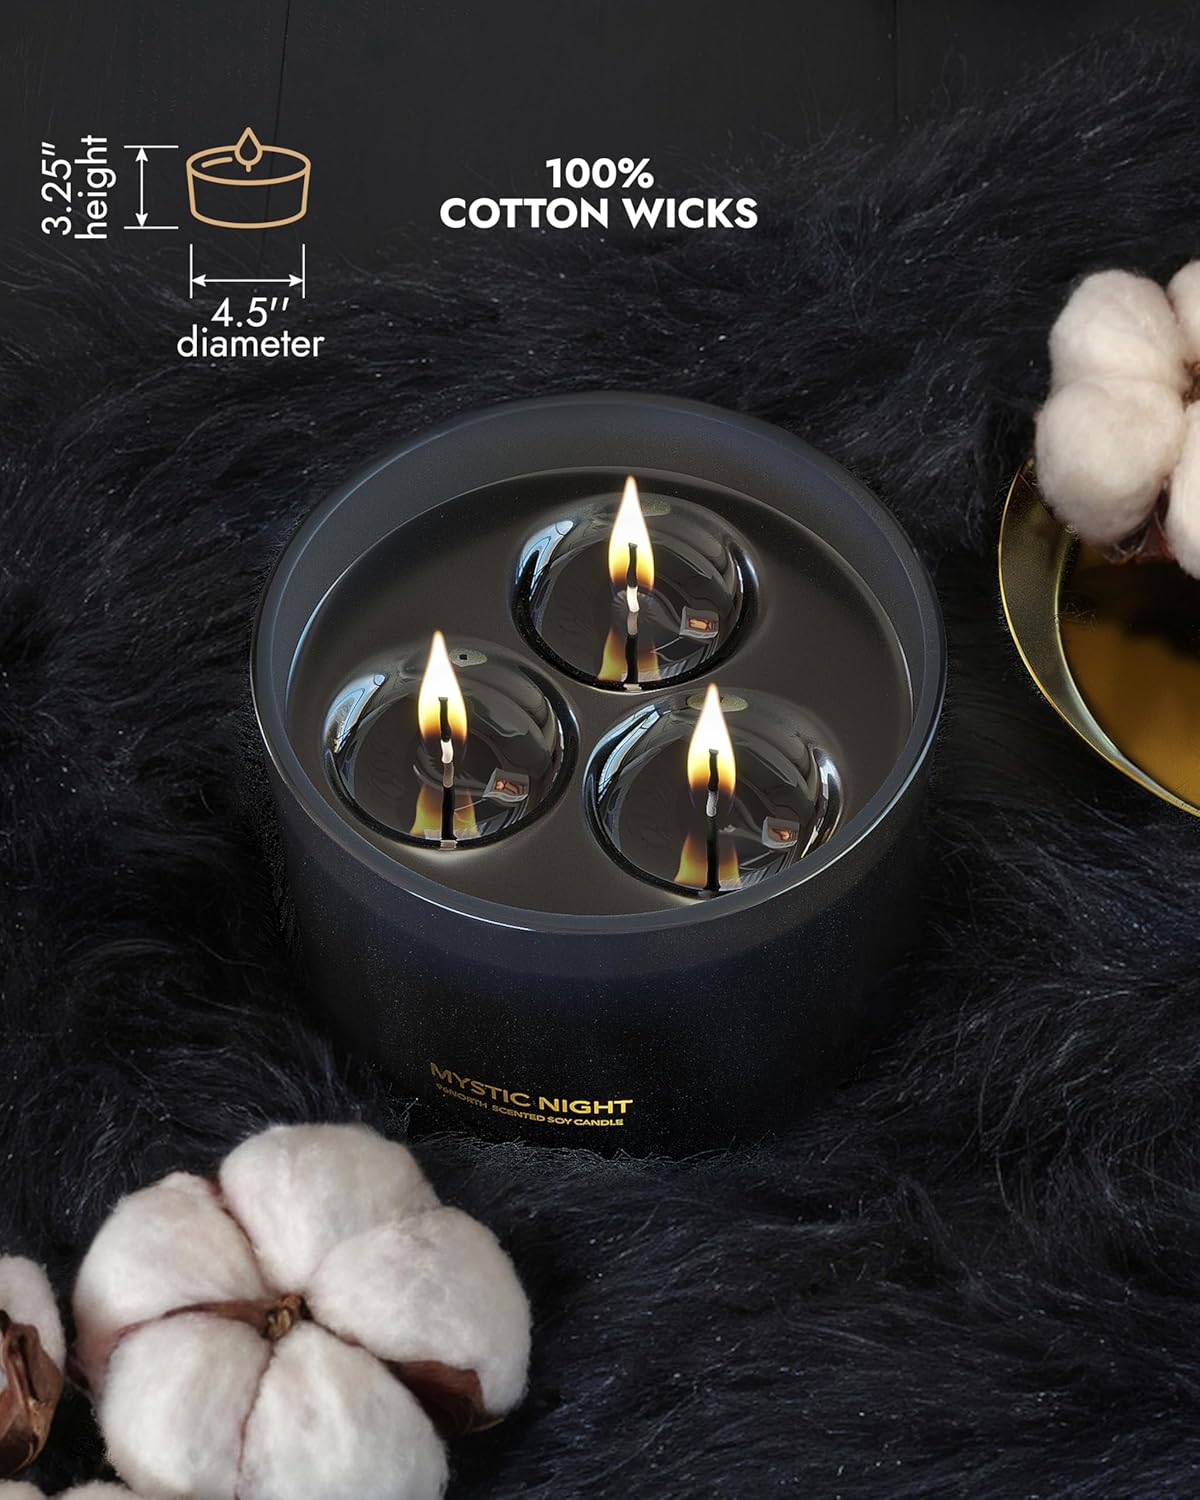

You light a candle for quiet restoration, but sudden smoke and weak scent quickly disrupt your calm. Mastering how to trim candle wick ends is a simple wellness ritual that protects your air and restores peace. This practical guide covers the exact length, the best tools, and quick fixes for multi-wick jars.
Begin with the single measurement that ensures a clean, steady burn.
1. Measure for the Perfect One-Quarter Inch Burn
Avoid a smoky, dancing flame by keeping your wick at the ideal height. Most clean soy candles perform best with exactly 1/4 inch of exposed wick, though always check your brand's label first.
Estimate this measurement without a ruler using these quick references:
-
A standard pencil: The wick should match its thickness.
-
Two stacked nickels: This equals the exact height required.
Look for a neat, flat top before lighting. Clip away any frayed fibers or bulbous carbon "mushrooms." If you are burning a multi-wick candle, trim all wicks to the same height to ensure a balanced, soot-free burn.
2. Trim Before You Light for a Cleaner Burn
Prevent dark smoke from disrupting your peace by learning how to trim a candle wick before lighting. Trimming cold wax is cleanest and easiest.
If you burn candles for long stretches, check them every four hours. Always extinguish the flame and let the wax cool completely before re-trimming. Watch for key visual triggers:
-
A tall, flickery flame
-
A carbon soot cap forming on the tip
A neat wick ensures a steady, controlled burn. This simple habit keeps your indoor air pristine and your therapeutic scent experience perfectly balanced.
3. Your Step-by-Step Wick Trimming Protocol
To master how to trim candle wick ends safely, follow this repeatable protocol to guarantee a clean, soot-free burn.
-
Extinguish first: Never trim a burning wick.
-
Let wax cool: Allow the pool to set completely to prevent splatters and ensure a clean cut.
-
Choose your tool: A specialized wick trimmer is ideal, though scissors or nail clippers work in a pinch.
-
Position parallel: Place blades flat against the wax surface. Avoid angling them to ensure a level cut.
-
Clip to 1/4 inch: This is the golden standard for a controlled, clean flame.
-
Catch the debris: Use the trimmer’s built-in tray, or pinch the debris out with a tissue.
-
Discard immediately: Keep the wax pool completely free of debris to prevent soot.
-
Equalize multi-wicks: Trim all wicks to the exact same height for an even melt.
The Mini-Check: On your next burn, the flame should remain calm and steady, never towering or smoky.
4. The Best Tools for a Clean, Debris-Free Trim
Maintaining a clean burn requires the right tool to prevent wax contamination.
-
Wick Trimmer: The gold standard, featuring a built-in tray that catches debris before it settles in the wax.
-
Scissors: Cut straight across to prevent loose fibers, ensuring clipped pieces do not fall into the pool.
-
Nail Clippers: Surprisingly precise for travel. Use a wide, straight-edged set.
Never tear the wick by hand, which causes fraying, or use dull blades that crush the cotton. Avoid cutting too short, leaving insufficient wick to relight.

5. Master the Wood Wick Pinch for a Cleaner Crackle
Wooden wicks require different care than cotton wicks, often sputtering because they build up a brittle, charred layer. Traditional trimmers can crush the wood.
Instead, gently pinch or snap off the loose, crumbly black char using a tissue to protect your fingers. Avoid shortening the underlying wood too dramatically.
Your visual cue is a clean, level top line instead of a tall, jagged char ridge. This simple ritual ensures a steadier flame, a clean burn, and a consistent, therapeutic crackle without the intrusive smoke.
6. How to Troubleshoot Common Wick Trimming Mistakes
Did a trimming mishap disrupt your candle’s peaceful burn? You can easily salvage the wax and restore a clean, soot-free glow.
Watch for these common styling mistakes:
-
Wick too long: A large, dancing flame and dark soot on the jar. Extinguish, let cool, trim to one-quarter inch, and remove debris.
-
Not trimming at all: Carbon mushrooming and uneven melting. Reset your routine by clipping the wick before every single burn.
-
Wick too short: A struggling, tiny flame that dies. Scrape cold wax away from the wick base, or absorb warm liquid wax with a rolled paper towel.
Never pour warm wax down a sink drain; let it cool and discard it safely in the trash.
Keep your daily wellness rituals clean and restorative. Explore grounding, non-toxic scents at 96NORTH or browse our luxury candle collections to find your next sensory escape.
Frequently Asked Questions
How often should I trim a candle wick?
Trim your wick before every single burn. If you enjoy long sensory sessions stretching past four hours, extinguish the flame, let the wax cool completely, and trim it again. Always trim sooner if you notice a tall, flickering flame or dark smoke.
Is 1/4 inch always correct?
It is the ideal sweet spot for most clean soy candles. However, always defer to the specific instructions on your candle label. For multi-wick candles, ensure every single wick is trimmed to the exact same height to prevent an uneven, smoky melt.
Why is my candle jar turning black even though I trimmed the wick?
Soot occurs if the wick is still slightly too long, if debris has settled into the wax pool, or if the candle is sitting in a draft. Keep your jar clean by wiping away the soot, trimming the wick, and burning your candle far away from air vents or open windows.
Do I really need a wick trimmer?
While a specialized trimmer is excellent for catching debris, it is not strictly required. You can easily use scissors or clean nail clippers. The true priority is achieving a clean, level cut and ensuring no carbon pieces fall into the wax.
Where can I find 96NORTH candles and scent collections?
You can explore our clean, non-toxic premium scented collections and luxury scented collections online. For our complete aromatic lineup designed to elevate your daily self-care rituals, browse the full candle collection on our website.