![]() No products in the cart.
No products in the cart.
Cart

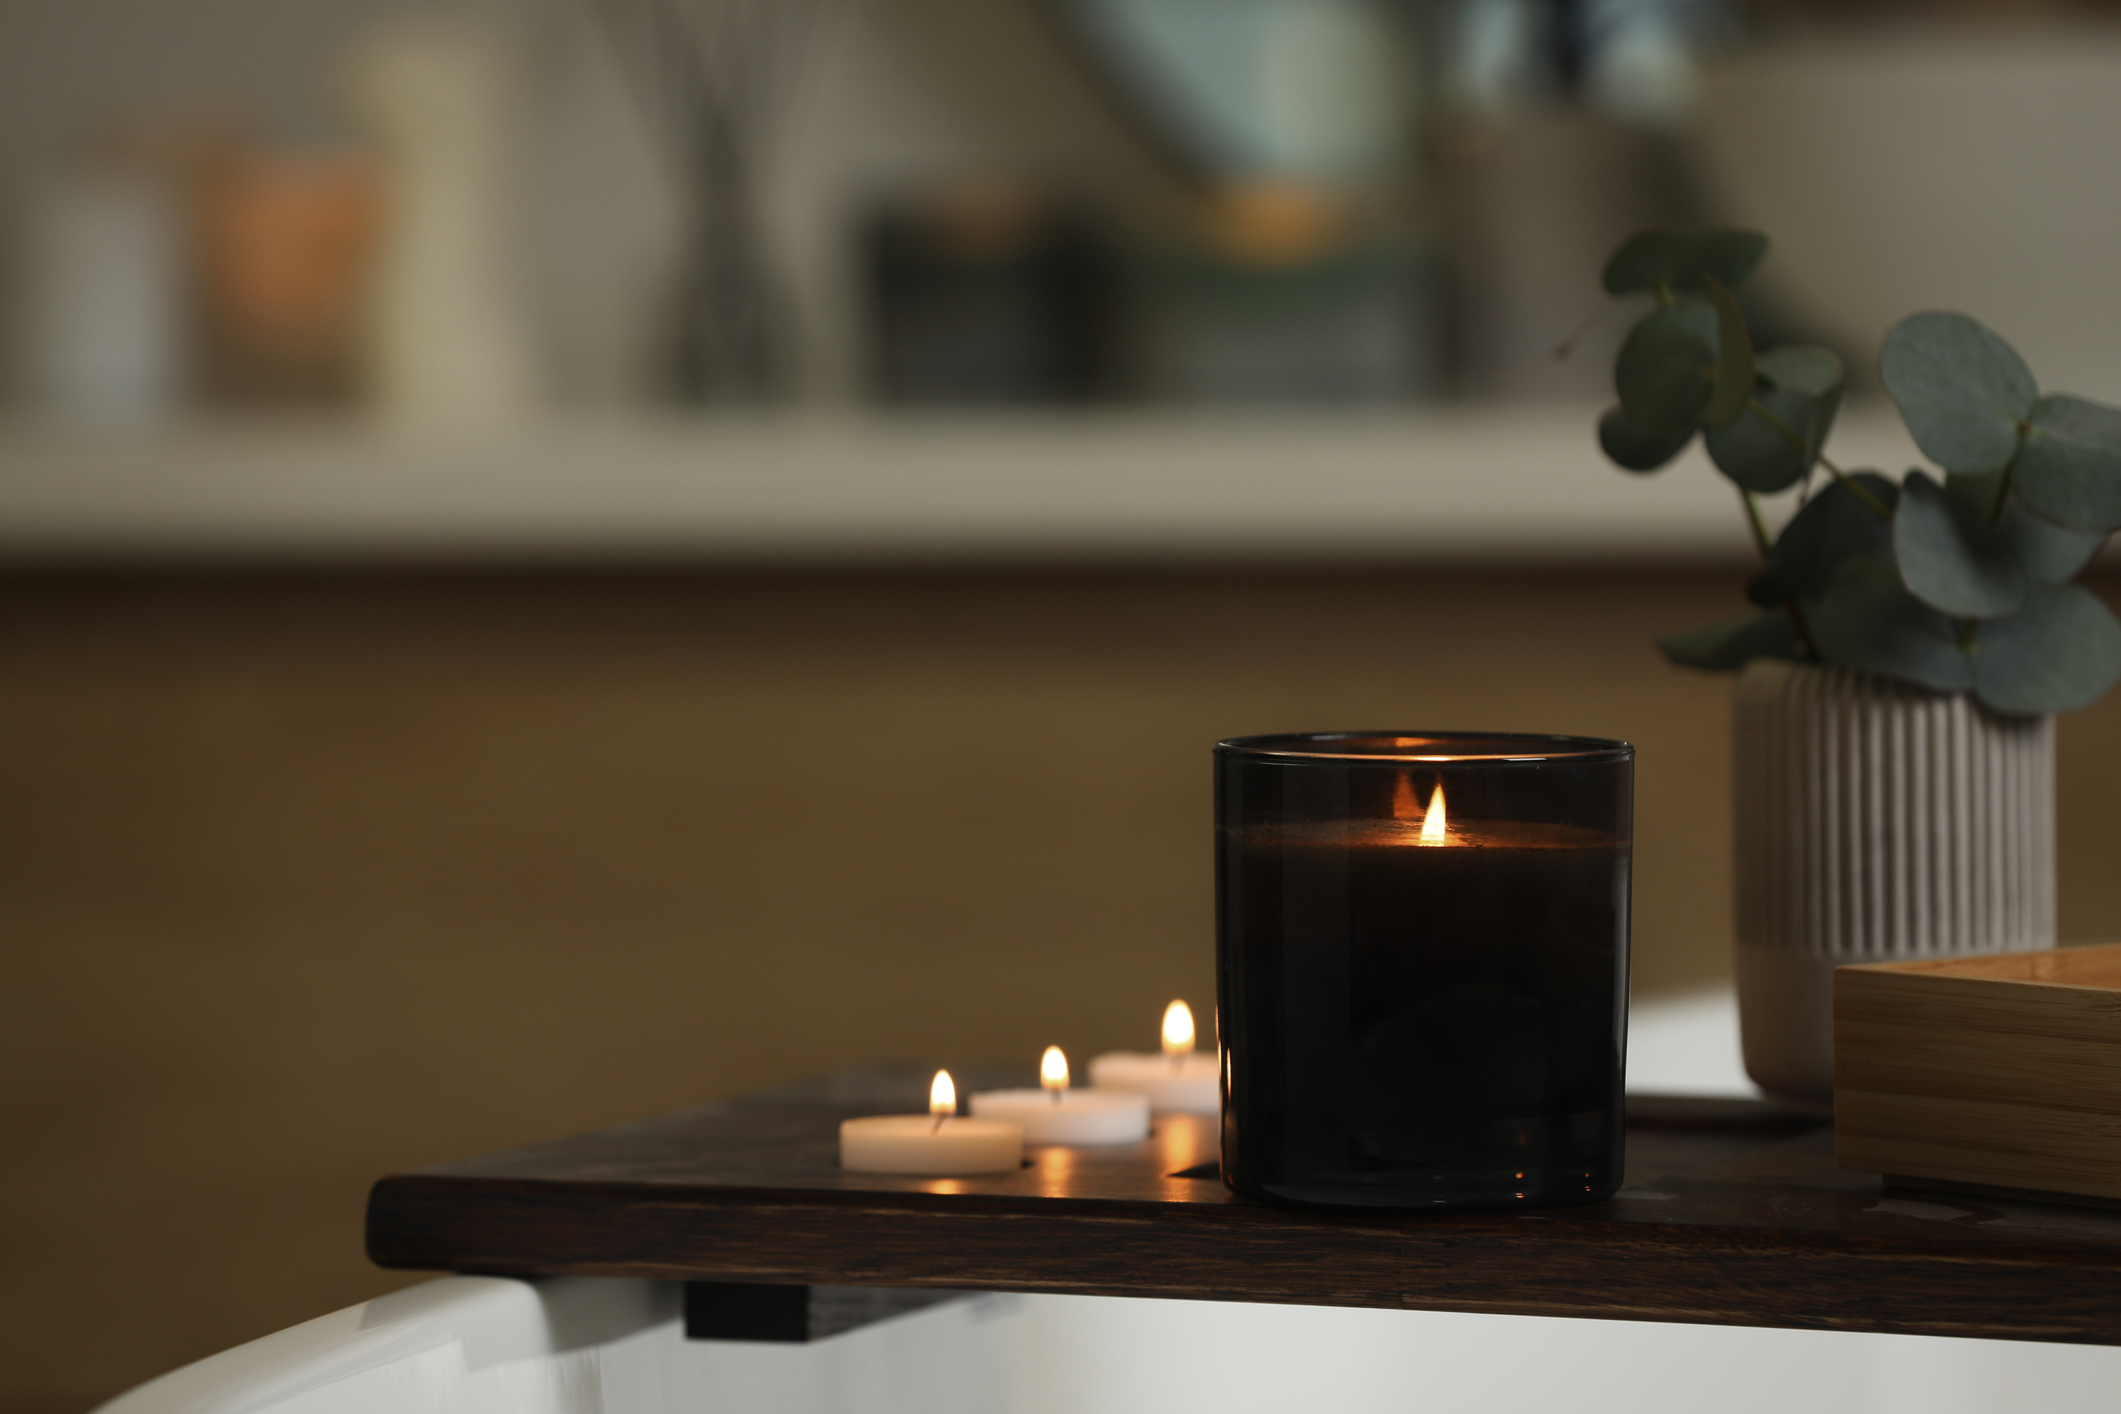
Have you ever had a candle that seems to burn down the middle, but never down the sides? When it’s not burning, does your elegant and aromatic candle sit with a ring of unburnt wax around the edges? Do you find yourself struggling to light this candle without a special lighter or a long match? Has your candle stopped giving off that atmospheric, glowing light we all know and love?
This is called “candle tunneling” and it is an unfortunate side effect from burning your candles improperly. YES! You can burn your candles improperly… Who knew?
Tunneling can happen to any candle of any size, wax composition, or quality. Luckily for you, we have some quick and easy tips that can resolve this annoying issue. Aluminum foil, candle toppers, hair dryers, the oven, and more are just a few hacks to get your favorite candle looking good as new!
First and foremost, it is much easier to prevent a candle from tunneling as opposed to fixing a candle that has already tunneled, so we highly recommend reading to the end of this article for a crash course in tunneling prevention! If your candle has already tunneled, we recommend trying…
Hairdryer
If you forgot to let the wax pool reach the edge on the first burn, you’re probably going to be left with a less-than-ideal memory ring (AKA the precursor to tunneling). If your candle is in this precursor stage, use your hairdryer to blast the top of the candle with high heat. Simply hold the airflow over the top of the candle until the top layer of wax has melted and smoothed. Try melting the entire top layer to reset the wax’s memory.
Aluminum Foil Tent
If you are a candle connoisseur like we are over here at 96NORTH, you’ve probably heard of the aluminum foil trick for a tunneled candle. Everybody loves a fix that only requires items they have in their house!
Take your aluminum foil and wrap it around the outside edge of your candle. The trick here is to make sure the foil reaches over the tunneled wax but also leave space for an open centre so the flame can continue to burn as usual. It should look like a little, open tent over the top of your candle jar! The aluminum foil allows the flame to stay even and continuously radiate heat, while also retaining heat to help melt the leftover wax. Check on your candle periodically to make sure it’s not overheating. When the wax has all melted to an adequate degree, be careful removing the foil – it will be HOT!
You may need to carefully remove some of the wax as it melts to make sure the candle doesn’t extinguish itself.
Candle Topper
Candle toppers are trendy, open metal lids that often have intricate designs. In likeness to the aluminum foil tent hack, candle toppers help keep the flames protected from wind and drafts so the wax can melt evenly. Not to mention, they are a fun addition to any 96NORTH candles!
It’s important to note that candle toppers work best on larger candles with a single wick.
Oven
This quick fix will leave your kitchen smelling amazing! Set your oven to 80 Degrees Celsius or 175 Fahrenheit. Once hot, place your candle in the oven for 2 minutes. This will evenly melt the top of your candle and return it to its smooth, and even former glory!
NOTE: Do not put your candles in a microwave oven! Candles typically have metal wick bottoms that can be dangerous when put inside a microwave.
You’ve tried all the above hacks to rectify your candle tunneling, and nothing has really worked so far. Unfortunately, there are some cases where your candle is just too far gone! No worries, there are still lots of ways you can enjoy the fragrance of your candle, at the expense of some flickering flames and ambiance.
Candle Warmer
A candle warmer is a great solution to soak up the aroma of your favourite candle if it is too tunneled to light the wick. A candle warmer will gently heat up the bottom of your tunneled candle. Though you won’t get to enjoy the romantic flicker of candlelight, you can still bask in its gentle fragrances!
Carve Out Wax Chunks
Another solution to an otherwise too-tunneled candle is to carve out wax chunks. Carefully cut the remnants of your candle into manageable pieces and let them slowly melt over a tealight burner – this method takes a bit of extra effort, but you still get to enjoy a sweet little flame!
As always, be extremely vigilant to not burn yourself or spill any molten wax when using these auxiliary methods!
If you love candles as much as we do, you don’t want to waste a single drop of wax! Follow these easy tips if you want to avoid all the hassle of playing catch up. Here are a few ways to burn a candle evenly and prevent tunneling.
The Initial Burn
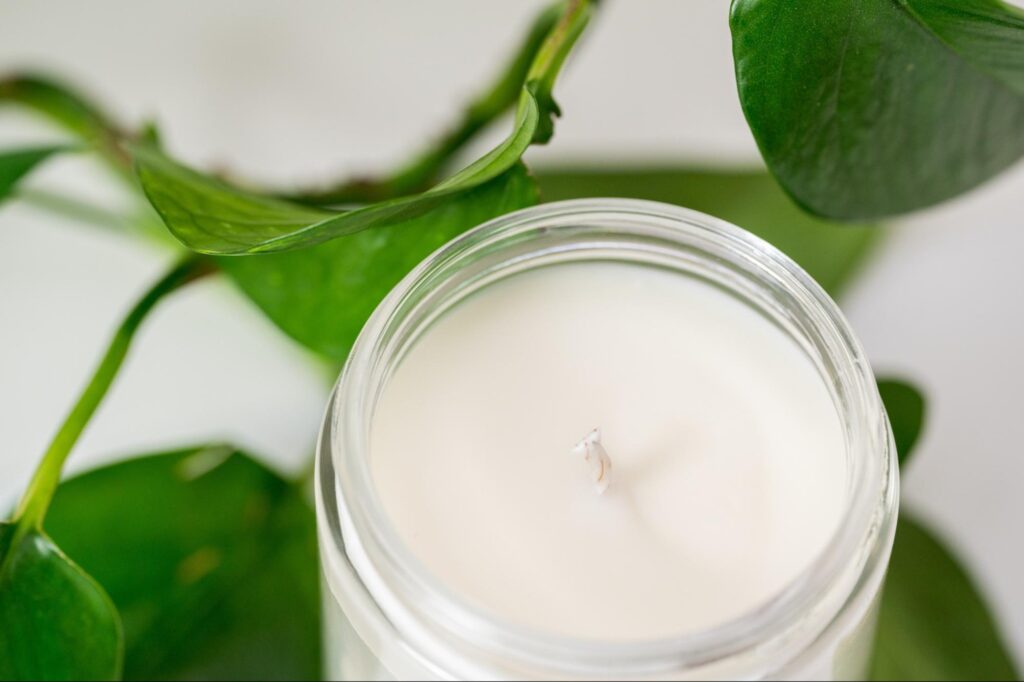
There are several different factors that can affect candle tunneling, but the most common reason is the length of the first burn. The initial burn of a candle is going to set the course of how it burns for the rest of its lifespan. Believe it or not, wax has “memory” – in other words, the first time you burn your candle, the diameter of the initial melt will determine the width of the melt for the rest of its lifespan. If you don’t let the entire top layer burn, you’ll notice the candle start to “tunnel” as you use it more and more.
The first time you burn your candle, it is vital to make sure the entire top layer melts before you extinguish it. Set your candle up in a room with no drafts or breezes to ensure the flame stays constant and strong. A good rule of thumb is to let it burn for an hour for each inch across. Check on it periodically to make sure it hasn’t gone out.
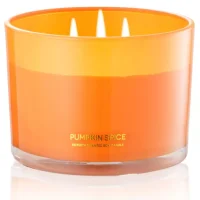
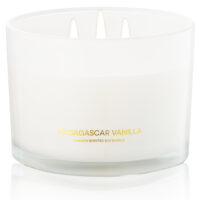
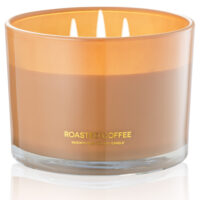
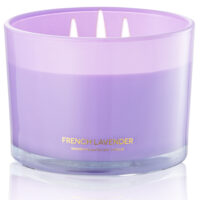
For our 96NORTH 100% soy wax candles, we recommend at least a solid 3 hour burn to get things started!
Keep it Burning
Although the initial burn is the most important, your candle can still begin to tunnel if it is constantly blown out before it has sufficiently melted. By allowing the candle to burn for longer, you’ll get a pool of hot wax around that should span the diameter of the glass.
Doing so allows the candle wax to melt evenly, and you won’t end up with those wasted wax walls!
Trim Your Wicks
Remember to trim your wicks regularly! Trimming the candle wick down to 1/4-in. can help you prevent problems like black flames, flames that are too tall, black smoke stains on glass candle holders and wax that’s burning too quickly. This will also prevent candle wick mushrooming and longer wicks, in general, tend to speed up the burning process!
A simple pair of scissors can trim any wick, including candles that are in containers, like glass jars or votives.
Salt Your Candle
Burn a candle long enough to collect a little pool of wax around the wick, then take a bit of table salt and sprinkle it into the wax. You may even mix with a toothpick to combine thoroughly! Table salt actually slows down the rate of your wax melting, thus increasing the lifespan of your favorite candle!
Place the Candle in Your Freezer
The freezer doesn’t just extend the lifespan of food…Placing a candle in the freezer helps freeze the wax which causes it to melt much more slowly.
A thicker candle may need between 6 to 8 hours in the freezer while a thin, tapered candle may only need about one hour. Don’t worry about the candle spending too much time in there though! No matter how long it spends in the cold, the candle will be just fine and it won’t change any of its aromatic properties!
The best way to get the most out of your candle burning experience is to purchase candles made of high-quality materials. 96NORTH candles are made with 100% soy wax, expertly crafted fragrances, premium cotton wicks, and reusable containers for a clean, fragrant, and long-lasting burn.

Candle tunneling is a pretty common problem and usually doesn’t take too much effort to fix. Even though wax has memory, candles that are well designed can usually correct the problem. If you’re noticing that your favorite candle is tunneling, try restoring it with the tricks above! However, the best medicine is prevention, so make sure you burn, salt, and trim the wicks of all your candles to make sure they last as long as possible!
The heat of a candle is generated from the wick in the middle, so naturally, that is the area that would burn faster. Ensure that you burn your candle for 3-4 hours at the outset so the heat can spread through the entire candle surface.
We recommend using a candle topper, trimming your wick regularly, and letting your candle burn long enough for the hot wax to reach the edges of its jar.
This is also known as candle tunneling! Tunneling typically occurs when you blow out the candle too quickly, or the candle is near a draft or window and burns unevenly.