
Burning a candle too short causes tunneling, while burning it too long produces smoke and soot. Knowing how long to burn a candle is the secret to protecting your indoor air quality and saving your wax. As wellness advocates focused on clean-burning rituals, we tested wax pool dynamics to simplify your daily routine. These simple timing rules will maximize your candle's lifespan and even rescue a tunneled jar.
It begins with the critical first burn.
1. Master the First Burn to Prevent Tunneling
Your first burn sets the boundary for your candle's entire lifespan. To prevent tunneling, you must burn it uninterrupted until the top layer of wax melts completely from edge to edge. Soy wax has a physical memory. If you extinguish the flame too early, the wax remembers that narrow center ring, tunneling straight down on future burns and wasting precious scent.
A successful first burn leaves a completely liquid pool across the vessel's full diameter, even if it is only a few millimeters deep. For more basic care, explore our guide to long-lasting candles. If you cannot safely supervise this initial melt, wait to light your candle until you have a few hours.
2. Limit Daily Burns to the Golden Two-to-Four-Hour Window
When determining how long to burn a candle, the optimal daily session is two to four hours. Burning beyond this window triggers excess heat, carbon buildup on the wick, and soot that stresses the glass container.
To protect your space and maintain a clean throw, extinguish the flame early if you notice:
-
A wild, flickering flame
-
Visible soot or smoking
-
A heavy, mushroomed wick
-
A jar that is excessively hot
If these safety triggers occur, snuff the flame and let the wax cool completely. Trim the wick before relighting. Shorter, intentional sessions serve as a calmer evening ritual than all-day burning.
3. Adjust Your Timing for Multi-Wick Candles
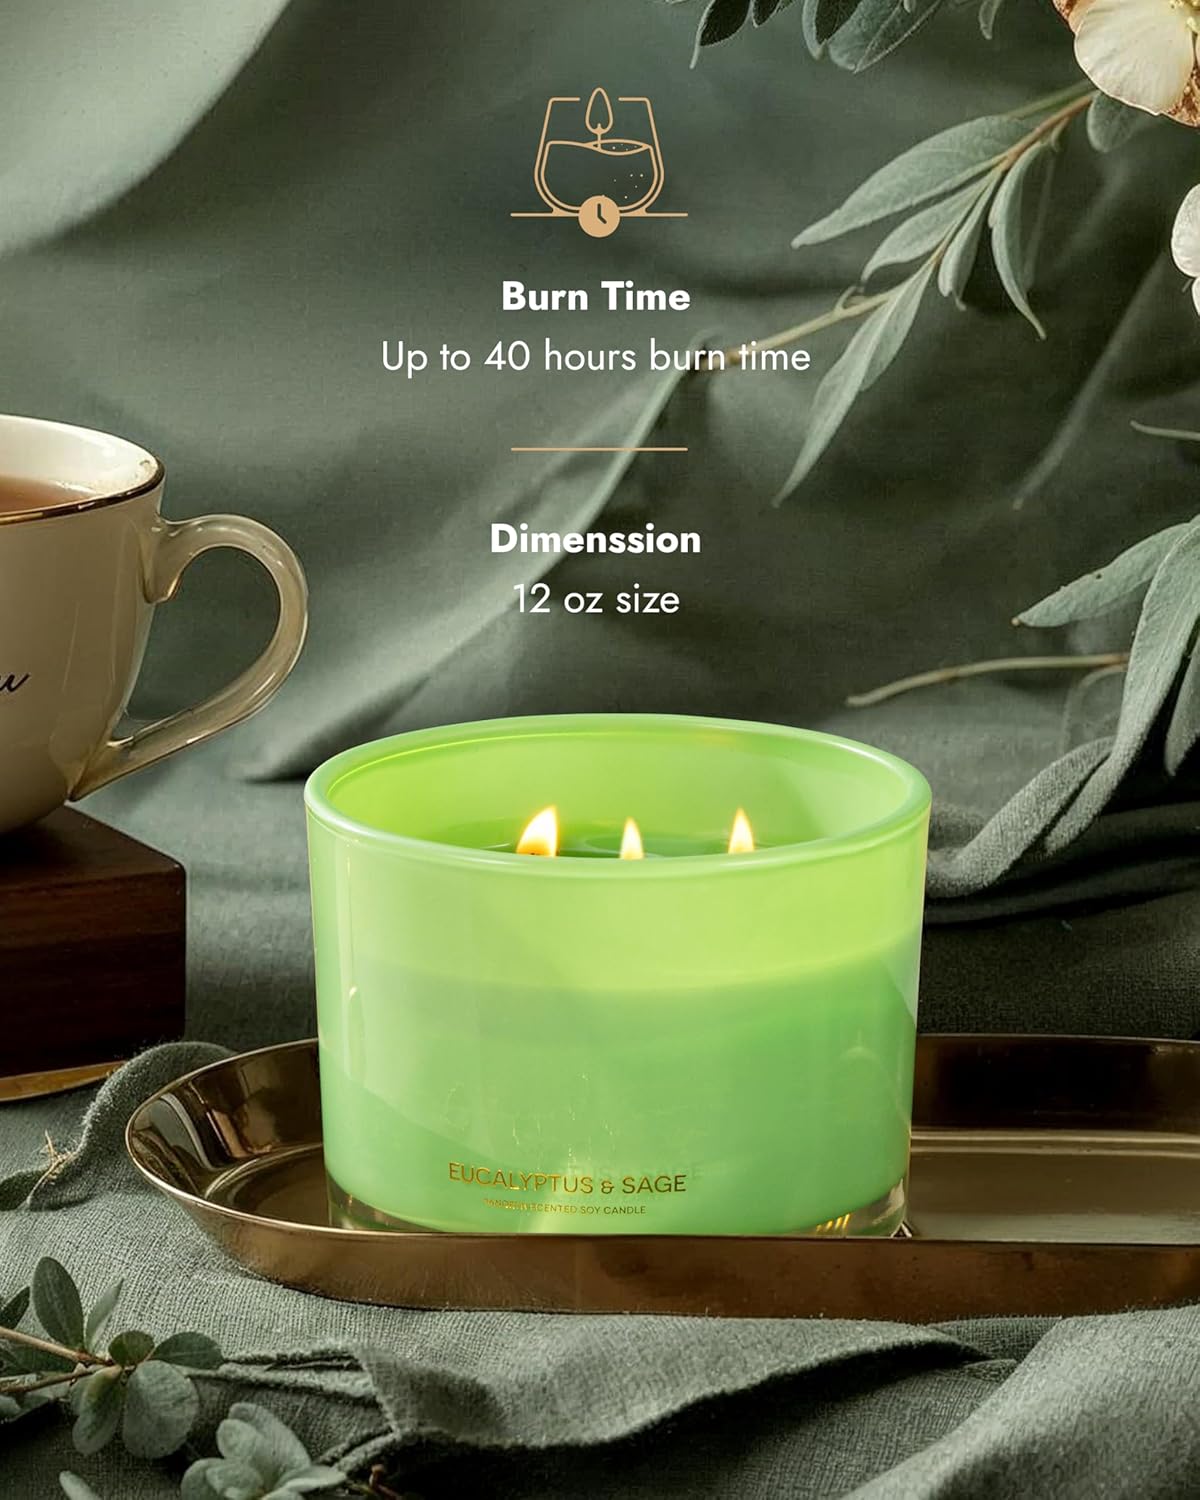
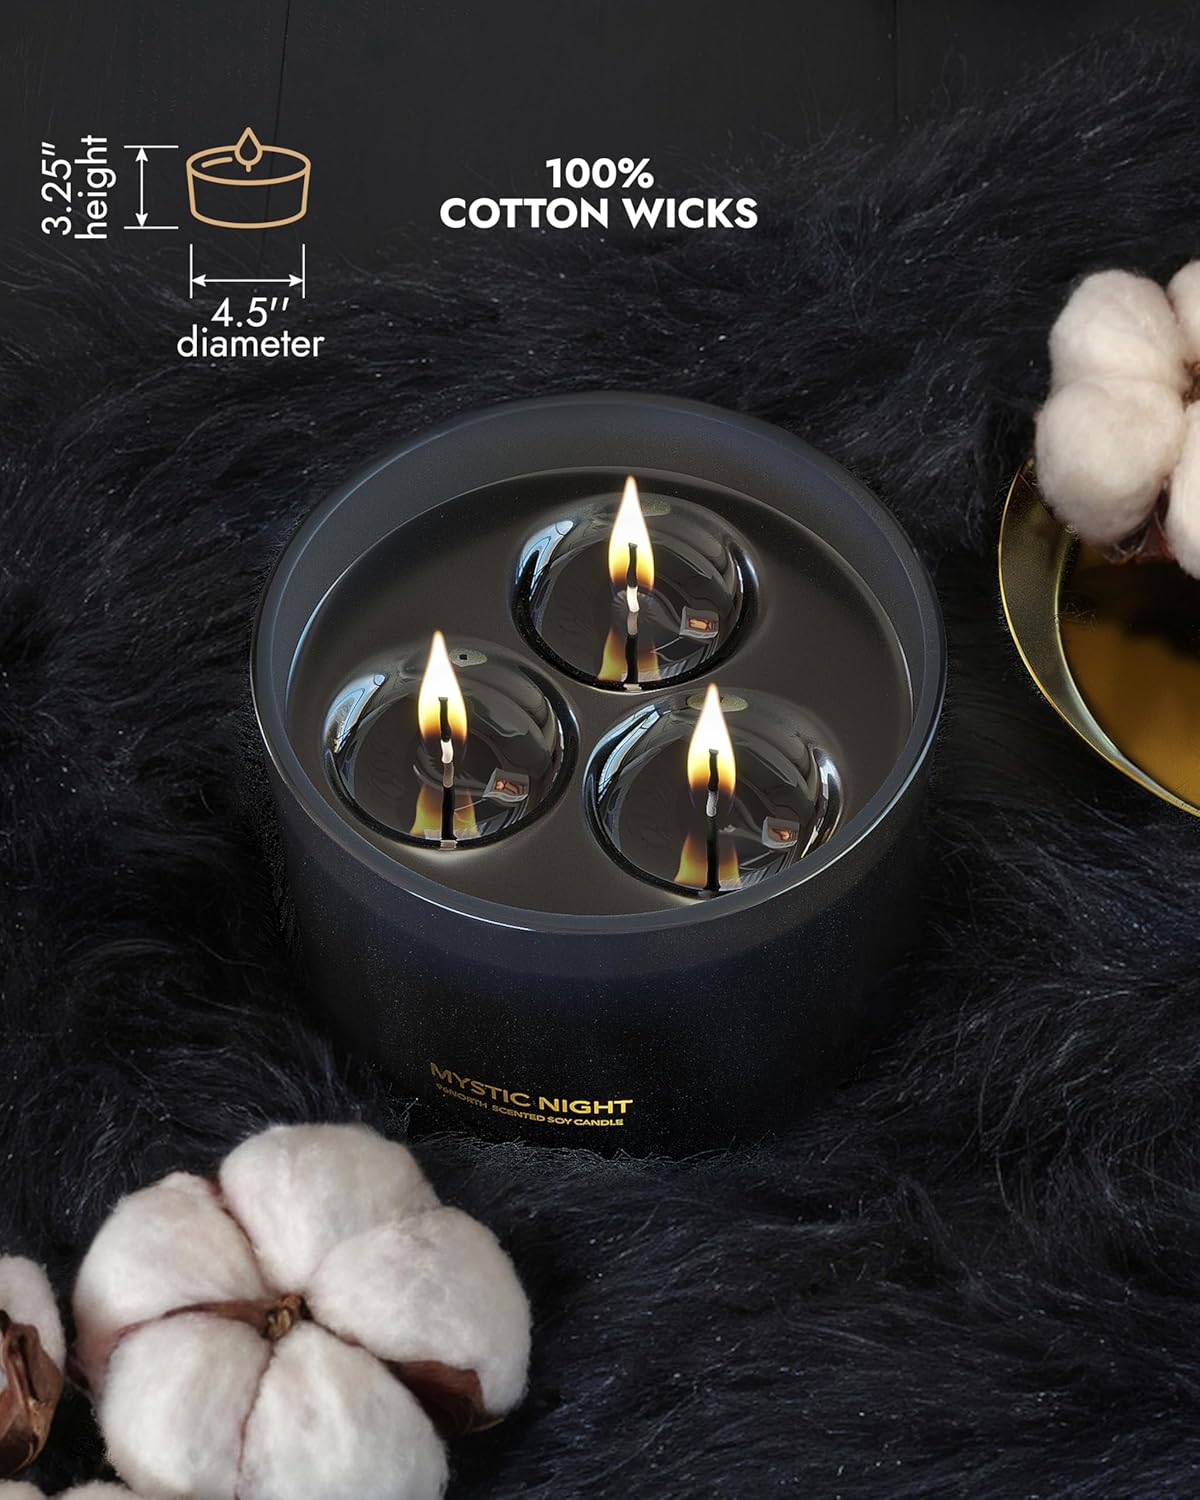
When mastering how long to burn a candle with multiple wicks, the standard four-hour rule changes. More wicks generate intense, concentrated heat, liquefying the wax to the container edge much faster. Do not force a long burn if the wax pool is complete and the jar feels hot.
To ensure a safe, therapeutic sensory experience, monitor these signs:
-
High, flickering flames
-
Rapidly overheating glass jars
-
Soot accumulation from untrimmed cotton
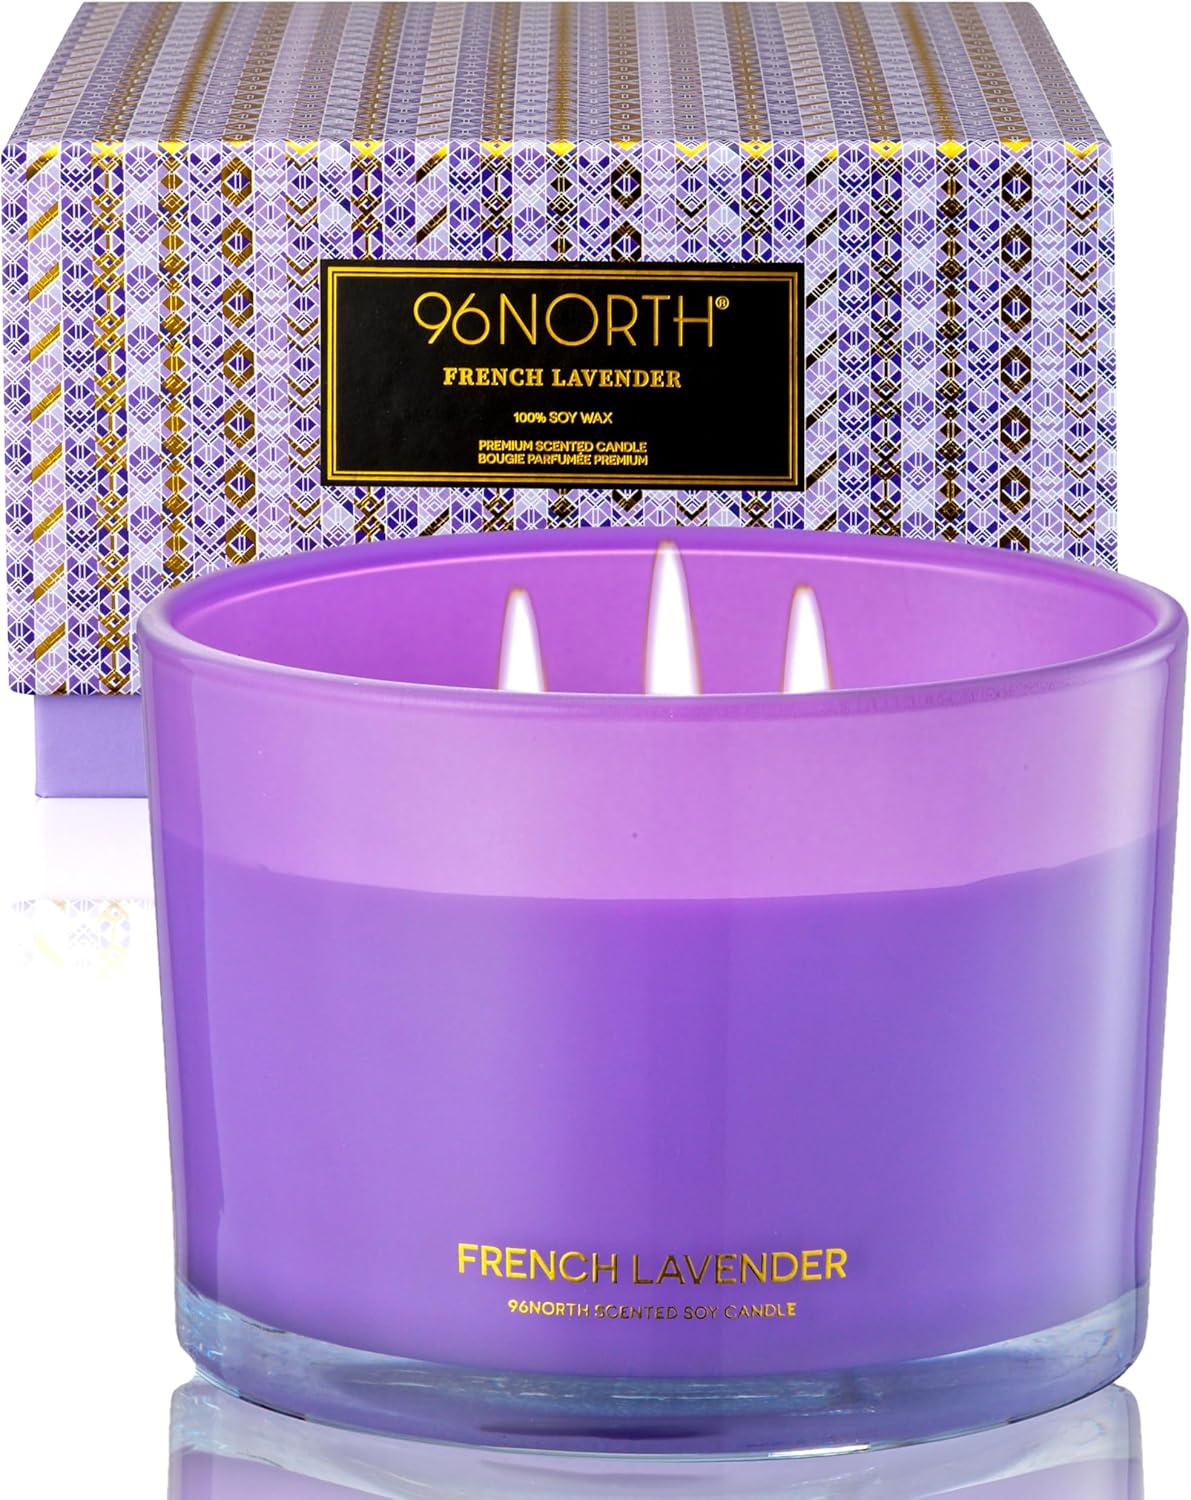
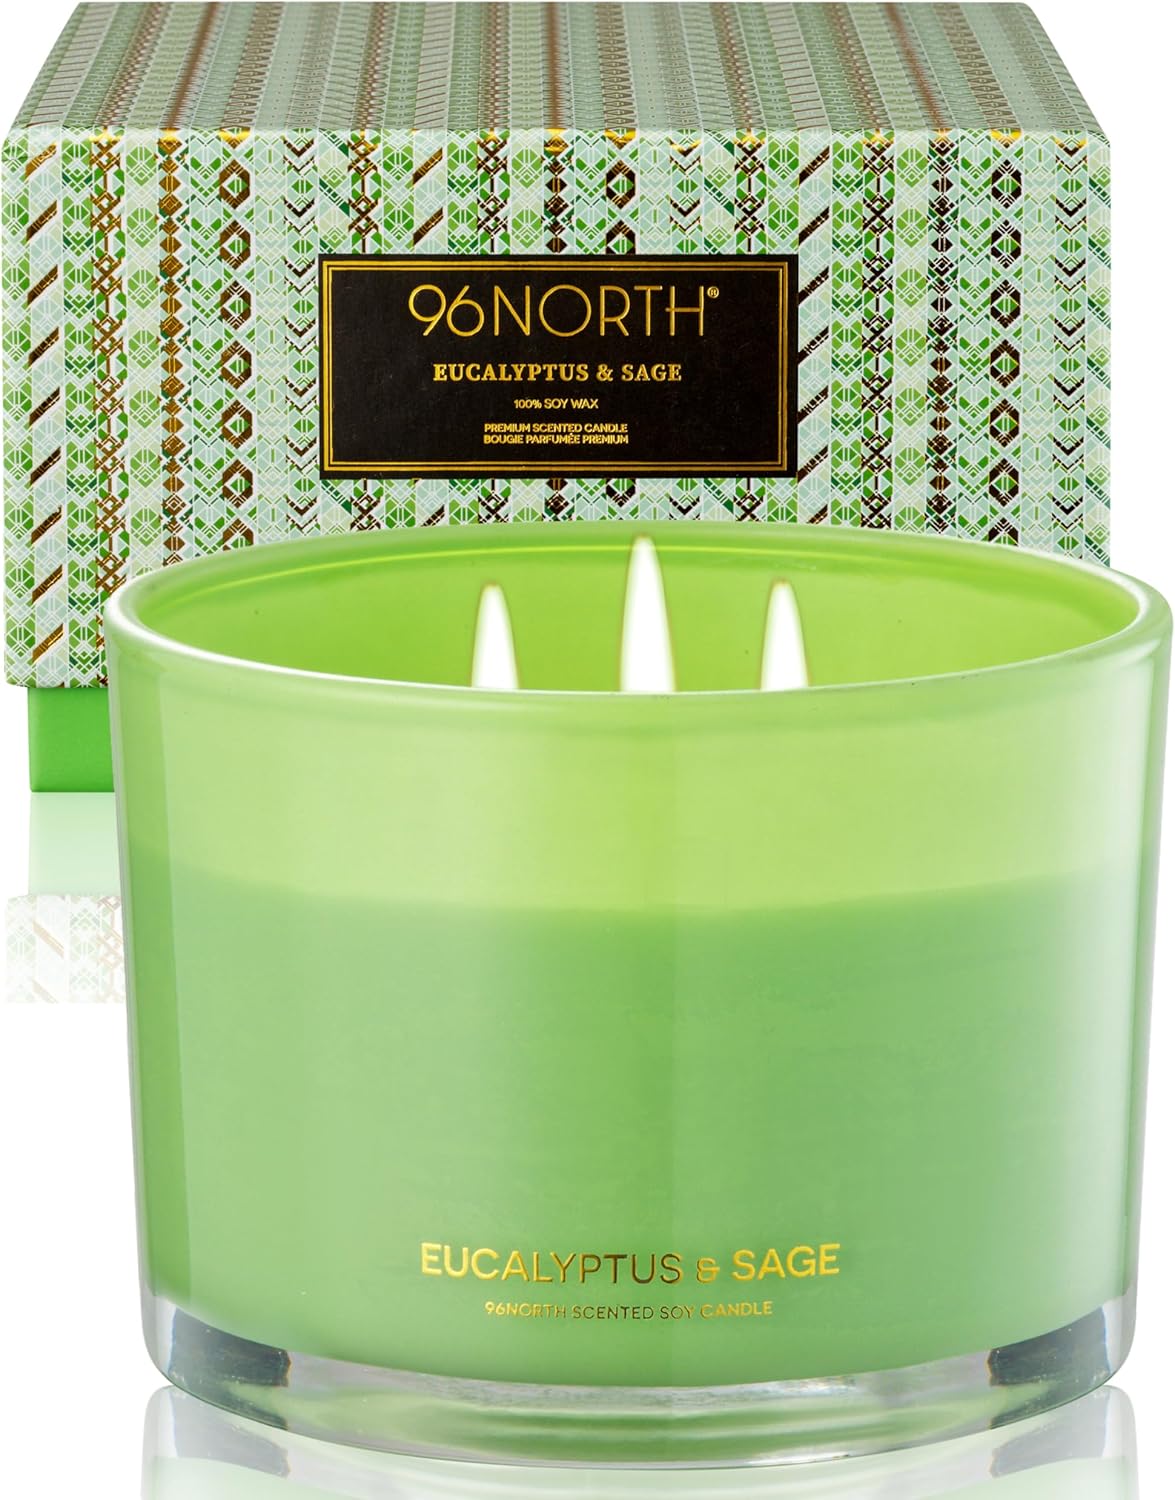
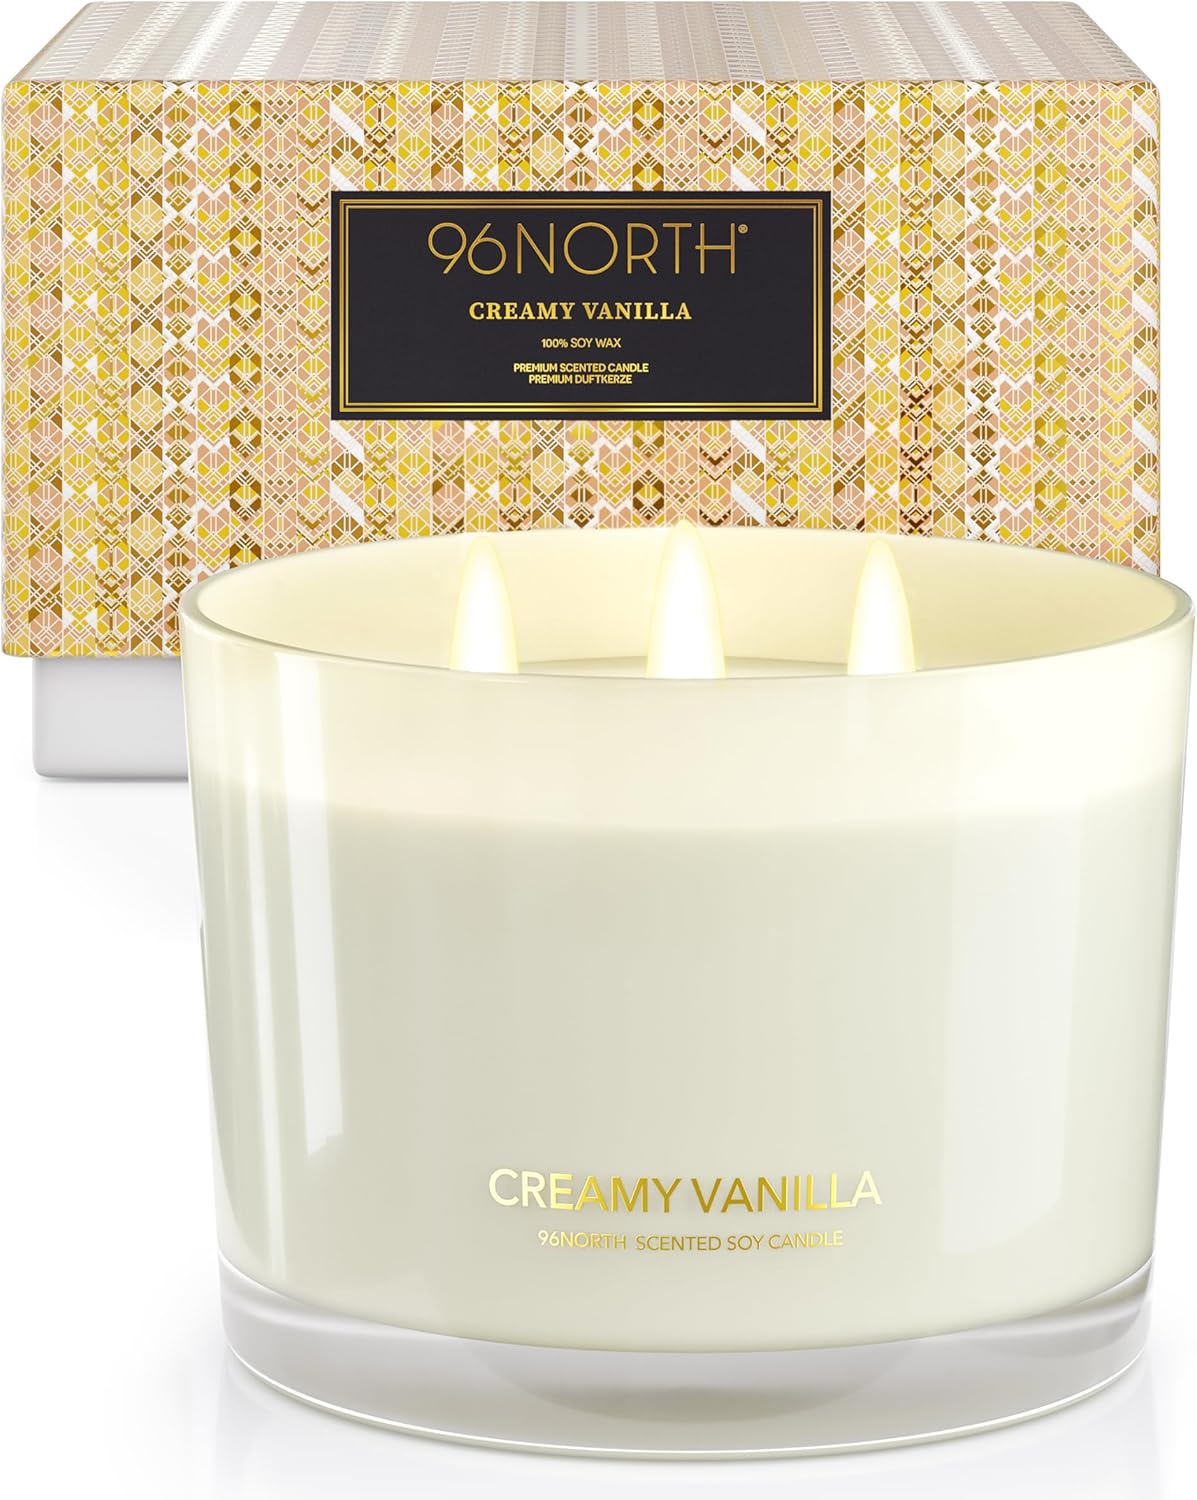
Keep wicks trimmed evenly to prevent an unbalanced burn, and extinguish the flame immediately if one wick begins to struggle. For a clean, sensory-rich ritual, browse the 96NORTH candle collection to find premium, soy-based multi-wick options designed to elevate your daily mindfulness routines.
4. Track the Melt Pool Instead of the Clock
When deciding how long to burn a candle, ignore the timer and watch the wax. An optimal burn requires achieving a liquid melt pool that reaches every edge of the vessel to prevent tunneling.
Estimate your session using this size-based framework:
-
Small tins and tealights: 1 to 2 hours
-
Large jars and multi-wicks: 3 to 4 hours
Different waxes (like soy versus paraffin) melt at unique rates. Always defer to the maker's guidance. Environmental factors like AC drafts, open windows, or chilly rooms also disrupt heat distribution. If your candle struggles to pool edge-to-edge, resolve drafts or trim the wick before extending your burn time.

5. Use a Preventive Maintenance Checklist for Daily Burns
Preventing tunneling, soot, and wasted wax requires a simple routine. Use this checklist to maximize your candle's lifespan:
-
Trim the wick: Clip cotton to 1/4 inch before lighting to prevent soot and control the flame.
-
Burn for balance: Let the wax melt to the jar edges to ensure an even melt pool.
-
Avoid drafts: Keep candles away from windows and fans to prevent uneven heating.
Always let the wax fully re-solidify before trimming and relighting to stabilize the wick and reduce soot. If your candle starts to tunnel anyway, restore a flat surface with our guide on how to fix candle tunneling.
6. How to Fix a Candle That Already Tunneled
If your candle burns unevenly, leaving a deep trench of wasted wax, you can easily rescue the surface. Restore an even melt pool with these simple methods:
-
The Foil Chimney: Wrap foil around the jar rim, leaving a center opening to concentrate heat and level the wax.
-
Gentle Top Heat: Use a hair dryer at a safe distance to melt the high outer edges.
-
The Re-Burn: Once leveled, let the candle burn until a new edge-to-edge pool forms.
Never leave the candle unattended and stop if the container overheats. For complete visuals, view our guide on how to fix candle tunneling.
Frequently Asked Questions
How many hours is too long to burn a candle?
Burning a candle for more than four hours is too long. For optimal safety, limit daily sessions to a two-to-four-hour window. Multi-wick designs may need even less time. Extinguish the flame immediately if you see heavy soot, dancing flames, or an overheating jar.
How long should I let a candle cool before relighting?
Allow your candle to cool for at least two hours until the wax pool solidifies completely and the container is cool. This simple waiting period stabilizes the wick and prevents excess smoke and soot.
Can I burn a candle overnight or while I sleep?
No, you should never leave a burning candle unattended while sleeping. Instead, burn your candle intentionally during your evening wind-down routine and set a reminder to extinguish it before bed.
What if I messed up the first burn—did I ruin the candle?
No, tunneling is easily fixable. You can level the surface using a foil chimney or gentle external heat. See our step-by-step instructions in Section 6 above to restore your candle.
When should I stop burning a candle for good?
Stop burning when only a half-inch of wax remains. Burning a candle all the way down can overheat the glass and damage surfaces. Ready to reset your daily ritual? Visit 96NORTH to browse our signature non-toxic candle collection and find your next sensory anchor.