
Watching a favorite candle burn down the center ruins your evening wind-down, leaving wasted wax and a weak scent throw. This common frustration requires a reliable candle tunneling fix.
Tunneling happens when a candle memory ring forms because the first burn set a narrow boundary. You can easily rescue your sensory anchor. Here are the quickest, safest ways to restore your wax, plus a simple prevention checklist.
1. The Aluminum Foil Shield Method
This classic candle tunneling fix rescues candles when the center burns low but the outer edges remain solid, resetting the wax memory ring.
To execute:
-
Trim the wick to one-quarter inch.
-
Wrap foil around the top, doming it inward with a coin-sized center vent.
-
Burn for 30 to 90 minutes until the top liquefies edge-to-edge.
Safety precautions:
-
Keep foil clear of the flame and never leave it unattended.
-
Stop immediately if the glass cracks, pops, or smokes.
-
Place on a heat-safe, draft-free surface.
![An instructional guide titled '[REMEDIATING SUBMERGED WICK SUFFOCATION]' outlining steps to fix candle wick issues: blot excess liquid with a cotton ball, scoop a trench around the wick, and relight on a draft-free plane after trimming to 1/4 inch.](https://cdn.shopify.com/s/files/1/0788/8925/5170/files/How_to_Fix_Candle_Tunneling_and_Restore_Your_Ritual_2.jpg?v=1783515201)
2. The Low-Oven Gentle Melt Method
For deep, stubborn wax shoulders where foil fails, a low oven offers a controlled candle tunneling fix. Unlike a hair dryer, it heats evenly without blowing hot air.
Steps:
-
Remove packaging and place the candle on a baking sheet.
-
Warm the oven to its lowest setting; turn off if needed to avoid overheating.
-
Heat until the surface liquefies; remove carefully to cool.
Safety:
-
Never microwave a jar candle.
-
Do not heat chipped or cracked glass.
-
Keep children and pets away.
3. The Blot and Scoop Method for Drowned Wicks
When your candle won't stay lit, crackles, or dies, melted wax has submerged the wick. You can rescue this clean-burning ritual before giving up.
Once the wax cools slightly but remains soft:
-
Blot pooled wax with a cotton ball.
-
Scoop a small moat if the wick is buried.
-
Re-center and trim before relighting.
To prevent future drowning after a candle tunneling fix, limit burn sessions and extinguish once the surface is level. The wick will ignite cleanly again.
4. Master the Melt Pool Rule to Prevent Tunneling
The ultimate candle tunneling fix starts with wax memory. When a burn ends too soon, the wax remembers that narrow, cold ring.
To prevent this, commit to a complete melt pool. Never light your candle if you only have twenty minutes. Instead, burn it until the liquid wax pools completely from edge to edge. Extinguish the flame only when the surface is entirely liquefied, ensuring future burns follow this clean, wide path.
5. Maintain Your Wick to Eliminate Uneven Heat
An overgrown, mushroomed wick burns too hot and fluctuates, causing soot and uneven heat. For an effective candle tunneling fix, trim the wick to one-quarter inch before lighting and gently re-center it if it drifts. Always use a dedicated wick trimmer to prevent charred crumbs from falling into the wax. Avoid trimming too short, which starves the flame and triggers re-tunneling, to guarantee a steady, peaceful burn and flawless edge-to-edge melt.
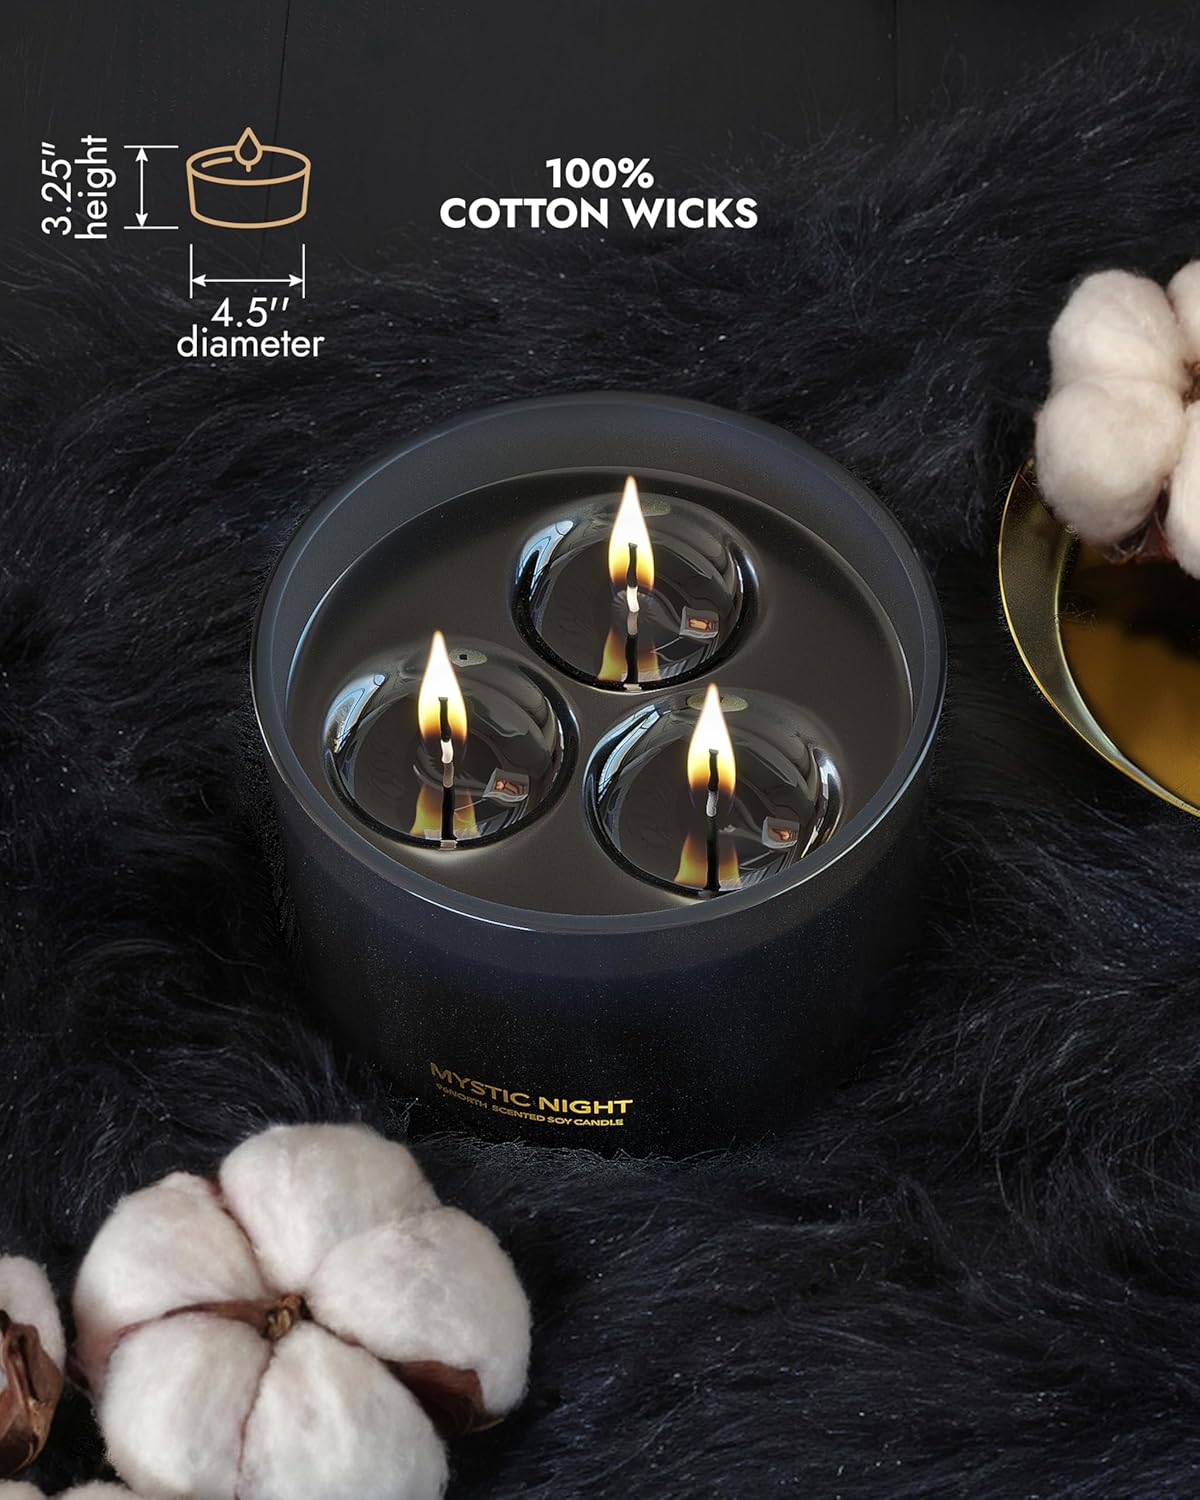
6. Balance Multi-Wick Burn Behavior
Multi-wick candles require uniform heat, yet standard candle tunneling fix guides ignore their unique physics. Uneven heat creates crescent-shaped pools where one wick races and another drowns.
To restore balance:
-
Check for drafts: Airflow pushes flames sideways, leaving opposite wicks cold.
-
Trim and rescue: Trim wicks to equal heights. Use the blot method (Item #3) for drowned wicks.
-
Rotate mid-burn: Turn the jar 180 degrees to counter room air currents.
This distributes heat evenly to level the wax.
7. Leverage a Candle Warmer for Flame-Free Wax Leveling
As a flame-free candle tunneling fix, place your jar under a top-down candle warmer. This melts the top wax layer to restore an even surface and release clean fragrance without an open flame. Warm until the wax liquefies completely, then let it cool flat. While warmers deplete fragrance slightly faster and still require wick trimming before your next light, they offer a low-stress ritual to reset your candle.
8. Precision Hair Dryer Sweep for Stubborn Shoulders
This method works best for clearing leftover wax shoulders after resolving a primary candle tunneling fix. Protect your workspace with a tray and paper towels, keeping the jar upright and stable.
Set your hair dryer to low, aiming the airflow at an angle rather than directly down. Move continuously in short, sweeping passes to prevent glass stress and hot wax splatter. Stop once the edges soften and slide. Let the candle cool flat before relighting for a level, blowout-free surface.
9. Control Your Burn Environment and Storage
A flickering flame leans to one side, causing an uneven melt pool that triggers tunneling. Eliminate environmental factors with this quick checklist:
-
Block drafts: Keep candles away from vents, fans, and open windows.
-
Stay level: Burn on flat, heat-safe surfaces.
-
Avoid cold: Chilly rooms harden wax quickly, shrinking the melt pool.
-
Store smart: Keep jars at consistent room temperature, away from sunlight.
A steady flame ensures a flawless, even burn.
How to Prevent Candle Tunneling with a Daily Care Ritual
Make this your daily unwind ritual: these small habits deliver better burns, less wasted wax, and the ultimate candle tunneling fix.
-
Trim and clean: Snip the cotton wick to one-quarter inch and remove any debris.
-
Shelter the flame: Place the jar on a flat, level surface away from drafts.
-
Commit to the pool: Burn your candle until the wax melts completely edge-to-edge.
-
Extinguish cleanly: Use a metal snuffer to avoid blowing soot into the wax.
-
Rest and reset: Let the wax cool and harden fully before moving it.
If your candle is beyond rescue, explore clean-burning 96NORTH Scented Candles or Seasonal Candles. You can also learn how long a reed diffuser lasts for flame-free, continuous relaxation.
Frequently Asked Questions
How long should I burn a candle to prevent tunneling?
Burn your candle until the liquid wax reaches all edges. Larger jars need longer sessions than small tins to achieve this complete melt pool.
What is a candle memory ring? Can I undo it?
It is the narrow boundary set by a premature first burn. Reset it by warming the surface level with foil, then maintain edge-to-edge melts.
Why did my candle start tunneling halfway down?
Drafts, off-center wicks, or debris cause late-stage tunneling. Correct this by eliminating air currents, centering the wick, and clearing the wax pool.
Is the foil trick safe in glass jars?
Yes, if monitored. Vent the foil and stop if the glass gets too hot. Avoid using foil on compromised or thin vessels.
When is it too late to fix tunneling?
Stop burning if the wick is fully submerged or the jar is damaged. Repurpose the remaining wax in a warmer, or choose a cleaner burn.
Restore your sensory space with a soot-free, clean-burning soy option from 96NORTH.