![]() No products in the cart.
No products in the cart.
Cart
Candles can be a great addition to any home, and if you’re a fan of them, you might be interested in learning how to melt the wax and make a candle for yourself. Melting wax sounds complicated, but it can be quite straightforward!
Before starting, make sure you have all the needed supplies. The most important items are the wax, wick, and the container in which you will hold the melting wax.
If you’re unsure of what type of wax to use, most craft stores sell basic candle wax, which works perfectly fine. The wick you use should be based on your wax type and container size.
You’ll also need a container to use as a wax melter; you can use a double boiler, a slow cooker, or a dedicated wax melter to hold the wax. You can use a saucepan or pot and a glass bowl if you don’t have any of these items.
In addition to the wax and wick, you will need a thermometer to monitor the temperature of the wax. Knowing the temperature is important to ensure the wax does not get too hot and burn the wick. You will also need a stirring stick to mix the wax and any additives, such as color or scent. Finally, you will need a pair of gloves to protect your hands from the hot wax.
Regardless of which option you choose for a wax melter, you need to consider the size of the container you will use for pouring the melted wax into. Making sure it’s large enough to hold all of your wax is important; if you plan to make multiple candles, choose a container that fits their size.
When selecting a container for melting wax, it is important to consider the material it is made from. Some materials, such as plastic, can melt when exposed to high temperatures.
Choosing a container made from a heat-resistant material, such as stainless steel or ceramic, is best to ensure that your wax does not melt the container. Additionally, ensure the container is deep enough to accommodate the wax you plan to melt.
Before melting wax for your candles, you may need some preparation. The type of wax that you choose will determine which prep steps are necessary. Preparation might include measuring the amount needed, or it could be that you’ll need to cut the wax into small pieces first. Additionally, depending on the type of wax, it might need to be mixed with other waxes or additives before melting. If this is the case, read the instructions carefully to ensure that this is done correctly.
When melting wax, you should use a thermometer to ensure that the wax does not exceed the recommended temperature. Once the wax has reached the desired temperature, it is ready to be poured into the candle molds.
At this point, you’re ready to start melting the wax. Once you’ve got the temperature right, you can start heating it up. When heating the wax, it’s important to ensure it doesn’t get too hot. If it is heated beyond its melting point, then it can become very dangerous. For this reason, using a double boiler or slow cooker can be helpful because it maintains a steady temperature, which means you won’t accidentally overheat the wax.
It is important to use a heat-resistant container when melting the wax, as it can become very hot and cause a fire hazard if not handled properly.
After melting your wax, adding color or fragrance can give your candles some extra flair. Most craft stores sell candle-safe dye or fragrance oils. It’s best to add only a few drops at a time and stir between each addition. This will help ensure that everything is blended nicely and evenly.
When adding color, it’s important to remember that the color of the wax will darken as it cools.
If you want a lighter color, add more dye than you think you need. If you want a stronger scent, add more fragrance oil.
Test the scent before pouring the wax into the mold, as the scent will become more subtle as the wax cools.
Once everything is well-mixed, it’s time to pour your melted wax into the containers of your choice. Place them on a flat surface and pour quickly, as the wax will start to cool as soon as it’s poured. You may need a hot pad or glove to help protect your hands from burns from the hot wax. Finally, ensure the wicks are stuck in place before the wax sets completely.
Once the wax has cooled and set, you can trim the wicks to the desired length. Having your wick at the right length will help ensure that the candles burn evenly and don’t produce too much smoke. You can also add decorations outside the containers, such as ribbons or labels, to make them look more attractive.
It takes some time for candles to cool and set properly. For this reason, it’s best to leave them alone until they are completely cooled and solidified before touching them or attempting to remove them from their containers. Solidifying could take several hours.
When the wax has cooled and set, you can remove the candle from its container. To do this, you can use a knife or other sharp object to gently pry the wax away from the sides of the container. Be careful when doing this, as the wax may still be hot and cause burns.
After your candles have cooled and set properly, clean up any messes from melting your wax. Dispose of any scraps or remnants of wax according to local recycling regulations. If using a pot or double boiler setup, let the remaining wax cool before cleaning the melter’s container. Finally, inspect your candles for imperfections or defects, such as air bubbles, before enjoying your new candles!
When cleaning up, wear protective gloves and eyewear to avoid any potential burns or splashes of hot wax. Additionally, clean up any spills or wax residue from your work area to avoid potential fire hazards. Finally, store your candles in a cool, dry place away from direct sunlight to ensure they last as long as possible.
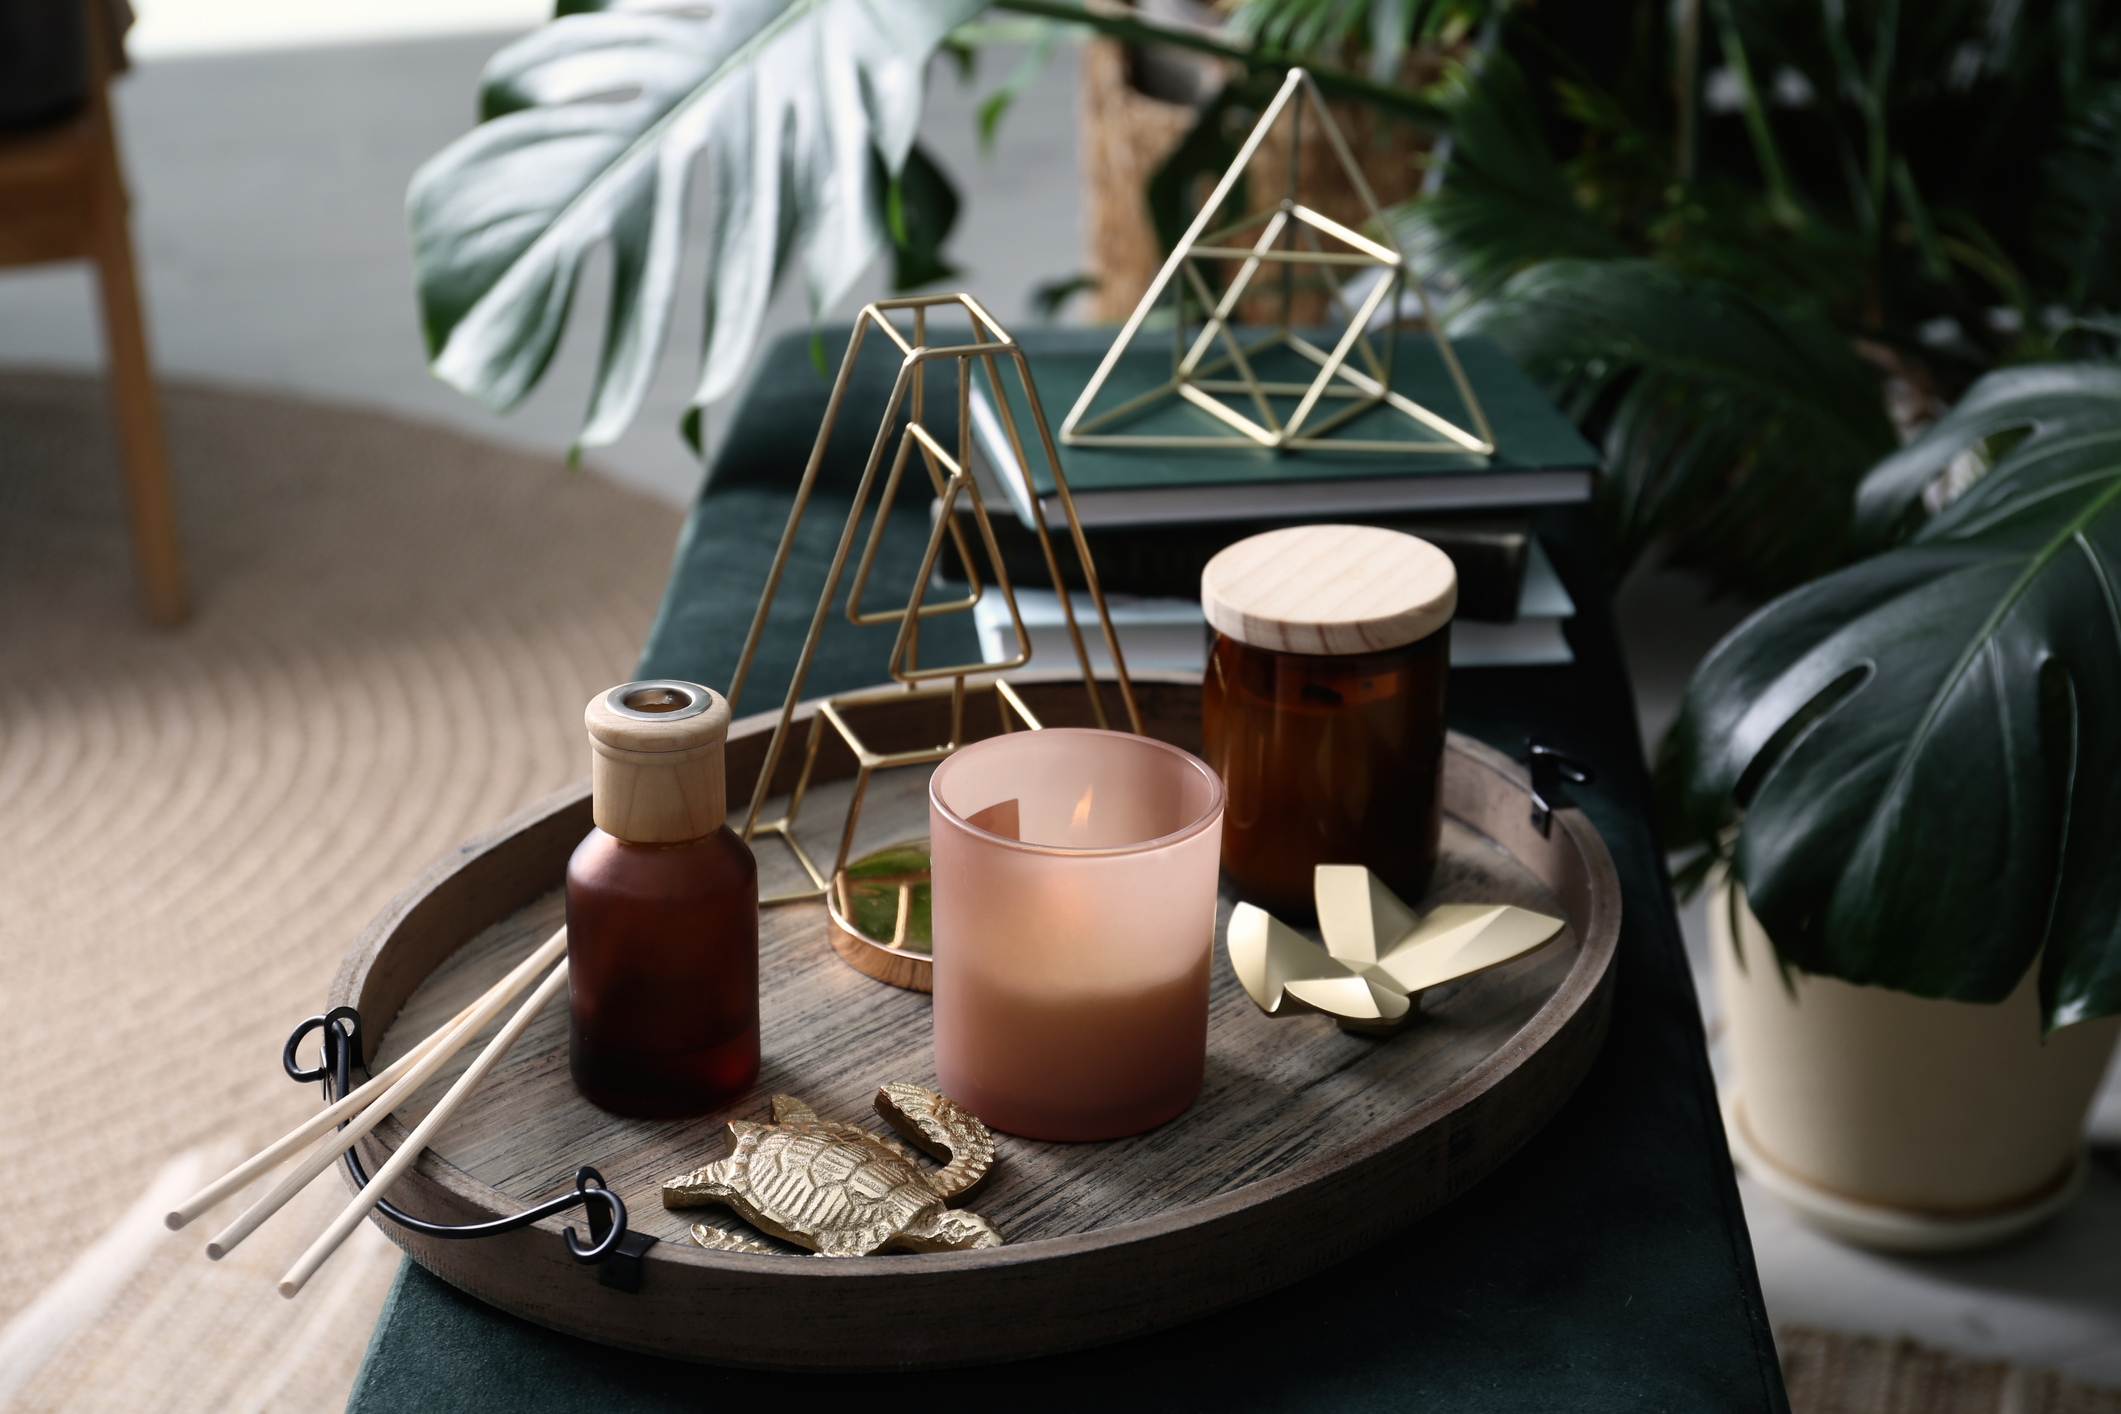
96NORTH sells the best soy wax candles on the market. We have a wide variety of naturally-scented candles, such as Madagascar vanilla and tropical coconut, which can transform your home into a serene, relaxing landscape.
Allow our candles to carry you to distant countries, atmospheres, and settings. Embrace their fragrance and journey through the aroma of beautiful exotic beaches and jaw-dropping lush jungles.
Allow the luxurious scents of 96NORTH’s candles to turn your house into a comfortable and relaxing home. Shop our selection of soy scented candles on our website.
A double boiler is the most convenient and useful way to melt the candle wax. It is easy to use, and if you are interested in regularly melting candle wax, you should consider getting one.
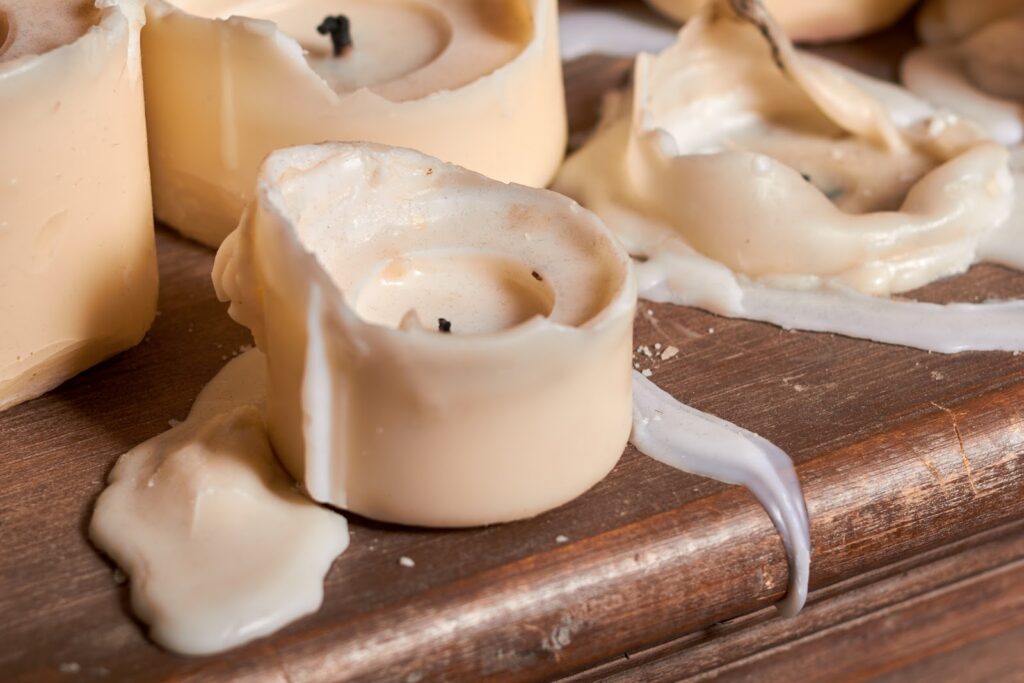
To reuse candle wax, you must liquify it, pour it into a new container, and apply a wick. Let the wax sit in the container for a few hours until it cools, and then you can use your recycled candle.
Try putting boiling water into the glass jar to melt the candle wax and make it peel off. The wax residue should float to the top and be easy to remove. Try to only use boiling water for thick glasses.