![]() No products in the cart.
No products in the cart.
Cart
Candle wax dyeing is a rewarding and fun process that, when done correctly, can lead to beautiful colors for your homemade candles. This guide will provide step-by-step instructions on how to dye candle wax and cover topics such as supplies, preparation, mixing the wax dye, cooling and pouring, and troubleshooting common problems. So get ready to learn how to dye candle wax.
The supplies you’ll need for dyeing your candle wax are relatively simple. You can find most of the items at either a local craft or hobby store or online:
It is important to note that you should always use a heat-safe pot or double-boiler when melting wax. Never melt wax directly on a stovetop or microwave, as this can be dangerous. Additionally, you should continuously wear safety gloves and protective eyewear when handling wax and dye chips.
The first step in the candle dyeing process is to prepare the wax. Start by measuring the amount of wax you’ll need to use. You want to use wax specifically formulated for candle dyeing for better results. Such waxes are usually oil-based and easily melt without clumping.
Once you have the desired wax amount, melt it in a double boiler or heat-safe pot. Ensure that your pot or double boiler is placed on a flame-resistant surface, and keep a close eye on it – as the wax is combustible and has a low melting point.
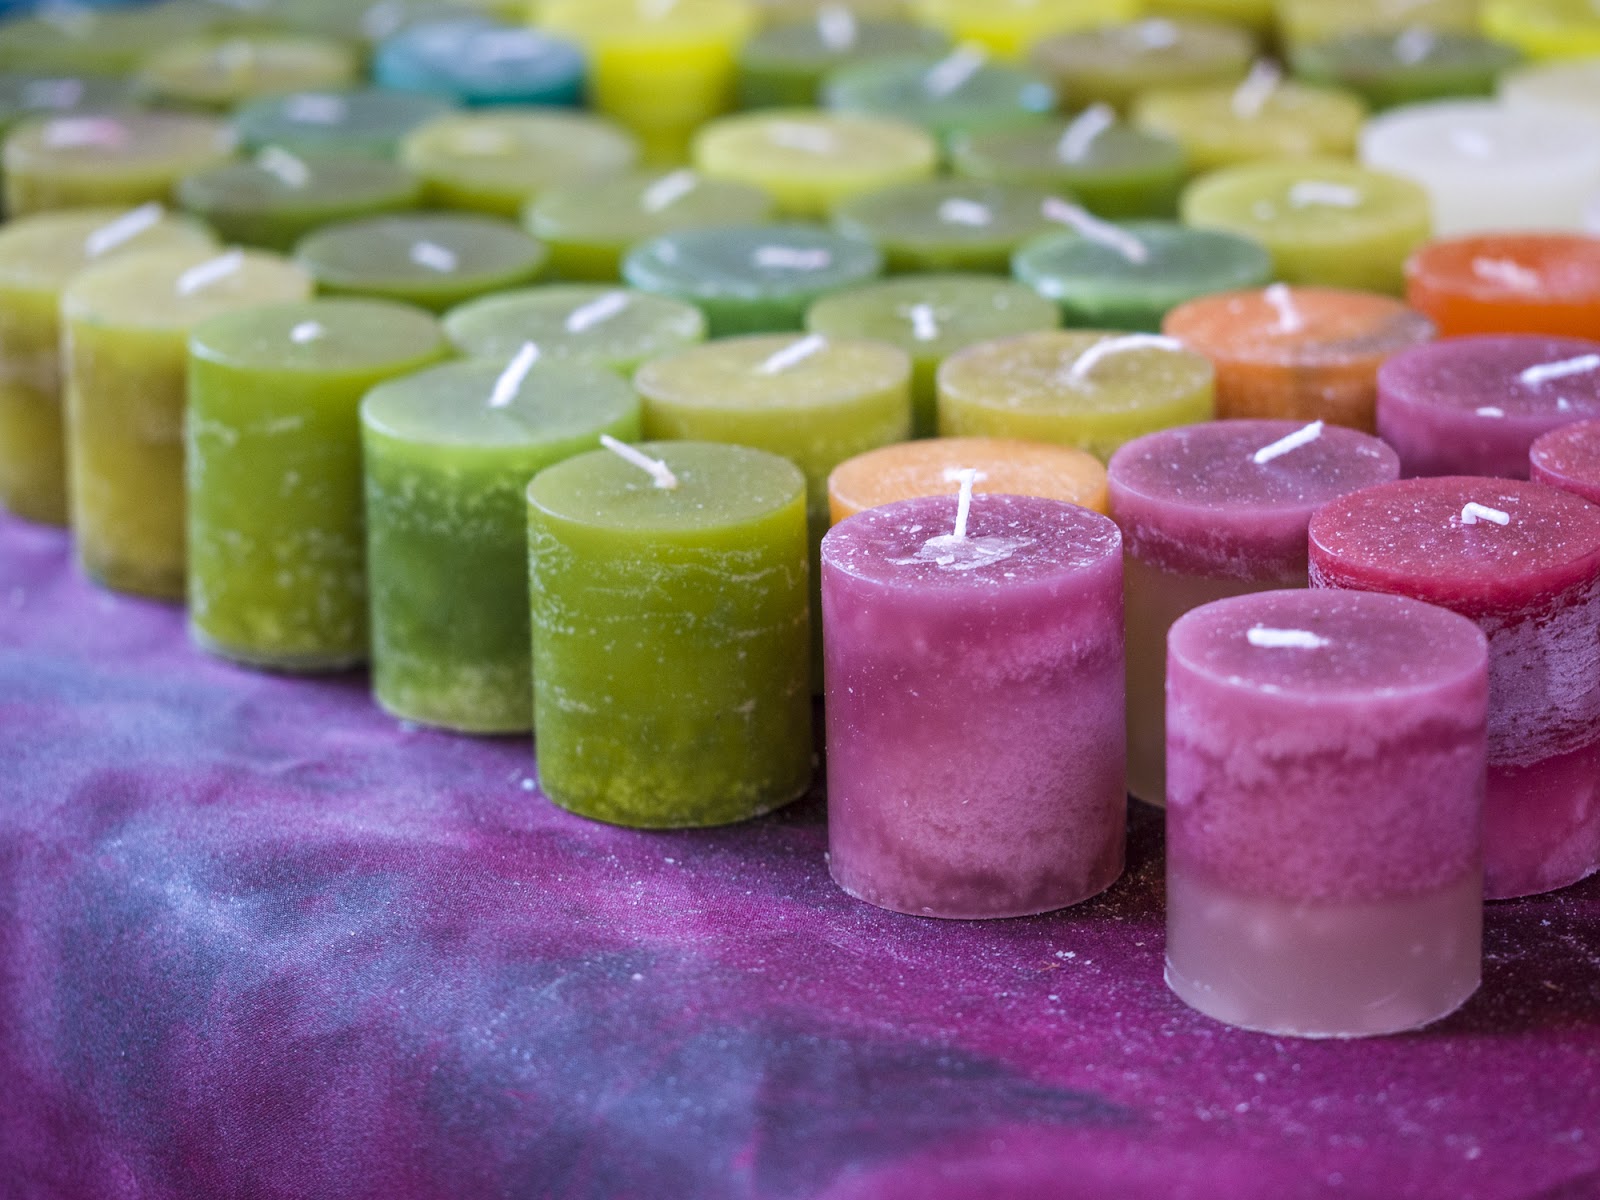
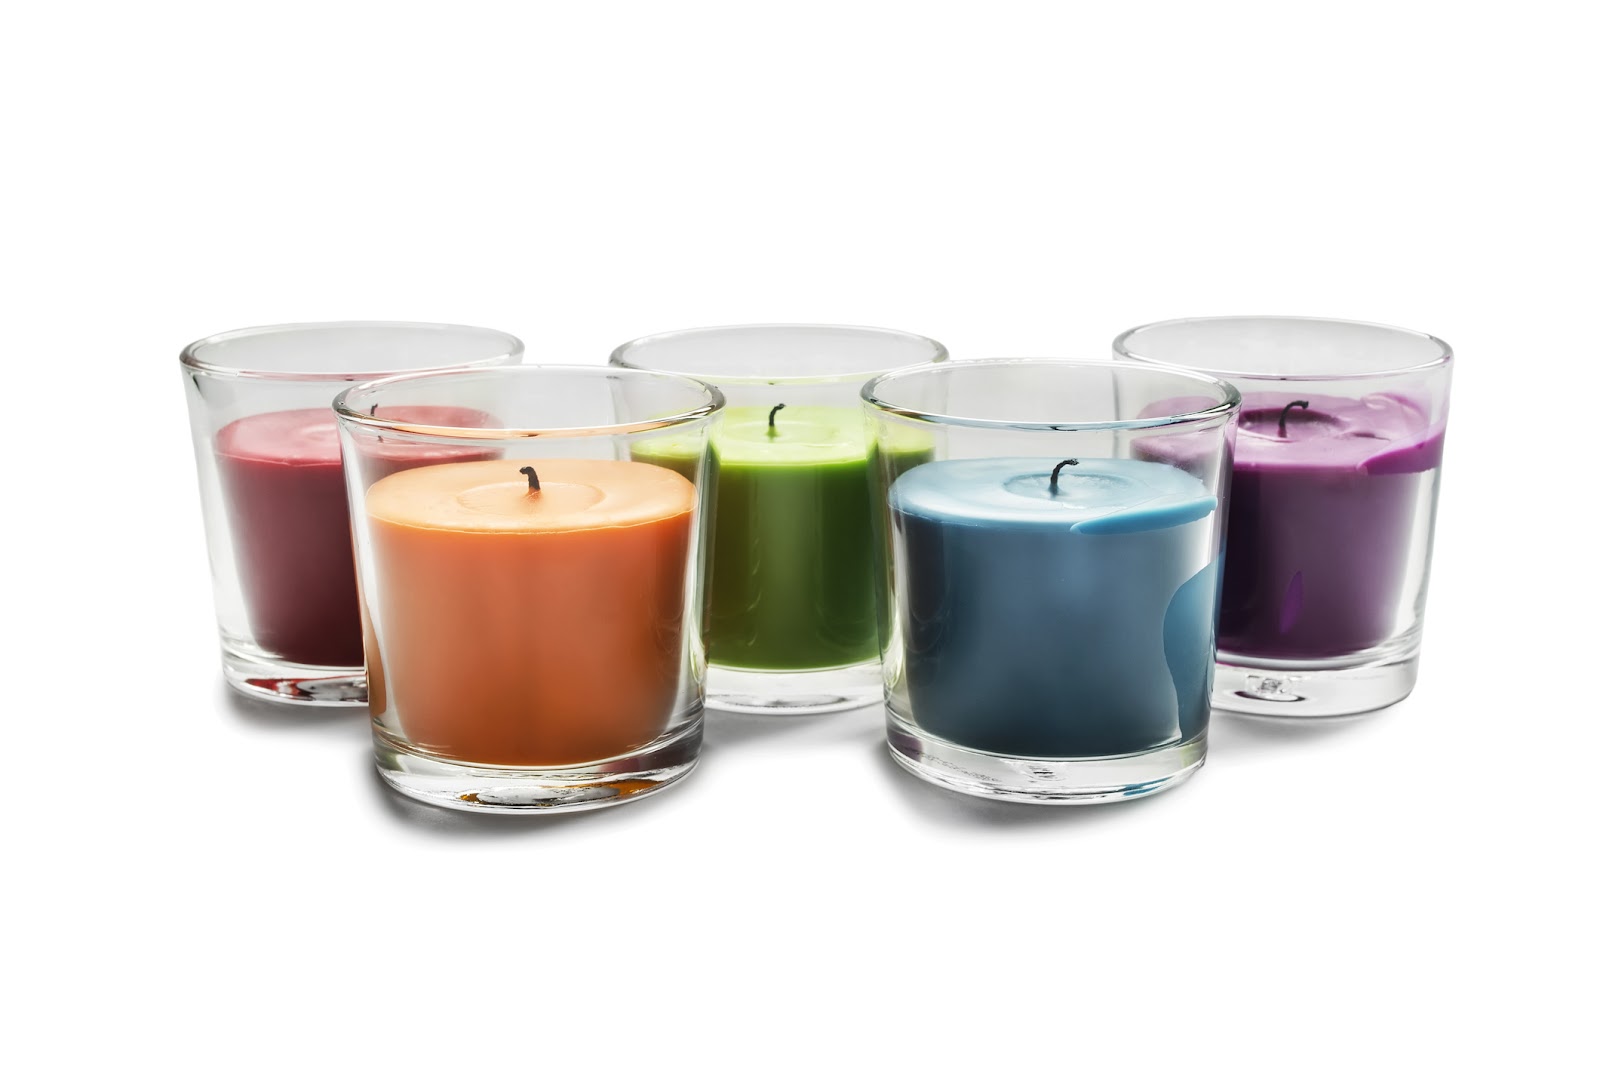
Once the wax is melted, the next step is choosing a dye to add to it. Candle dye chips come in various colors, from classic red and pink to the more exotic green and purple. Before pouring the chips into your melted wax, know exactly how much you want to use.
Depending on how intense of a color you want, you can use just a few chips or even a full bag. As a general rule, adding more chips produces more vibrant color.
When the wax has reached its melting point (generally around 150°F), it’s finally time to add the dye chips. Carefully sprinkle the chips into the pot and stir with a long-handled spoon or paddle. The stirring should continue until all the chips fully melt into the wax.
You can test for color intensity by dipping a spoon into the wax and then onto a cool white surface; if it’s still not at your desired level of color intensity, repeat this process with additional dye chips.

After adding the dye chips, mix slowly with the spoon. It would be best to place the thermometer in the mixture as you stir to ensure it doesn’t exceed 179°F – doing so could cause the candle dye to start burning.
Continue stirring until all of the chips have dissolved and there’s no sign of impurities in the mixture. Once you’re happy with the mixture’s color intensity and consistency, you’re ready to start cooling and pouring.
When pouring wax dye into your melted wax, removing any remaining impurities before making candles is important. One way to do this is to strain the mixture through coffee filters.
This will help remove any dirt or dust that may have sneaked into your wax while working with it. After straining out all the impurities, you can now move on to cooling and pouring your candles.
Once your wax mixture has been strained, it’s time to start cooling and pouring. Begin by transferring your mixture into a different heat-safe container (preferably one bigger than you need) and allow the mixture to cool for about 25 minutes before pouring.
As you wait for the wax to cool, insert your wicks into the molds you want to make candles. Once cool enough, slowly pour your mixture into each mold – making sure not to fill it all the way so that there is room for air expansion when it hardens.
Candle dyeing can sometimes be tricky – especially if you’re a beginner – so there are bound to be some hiccups along the way. Here are some common problems you may encounter while dyeing candles, as well as simple solutions:
To achieve your perfect shade of colored candles, try these tips:
Once your candles are completed, they’re ready to enjoy! But what do you do with any leftover colored wax? To ensure it stays fresh and vibrant for future use, store it in an airtight container – preferably glass or plastic – in a cool area away from direct sunlight and heat.
For best results, try using smaller containers, as this will help prevent contamination. Keeping your leftover wax stored properly will help keep it from oxidizing and allow it to remain usable for future craft projects.
That concludes our step-by-step guide on how to dye candle wax! With this knowledge, you can now craft beautiful colored candles with ease. So go forth and have fun exploring various shades and colors of dyes to create something that’s uniquely yours!
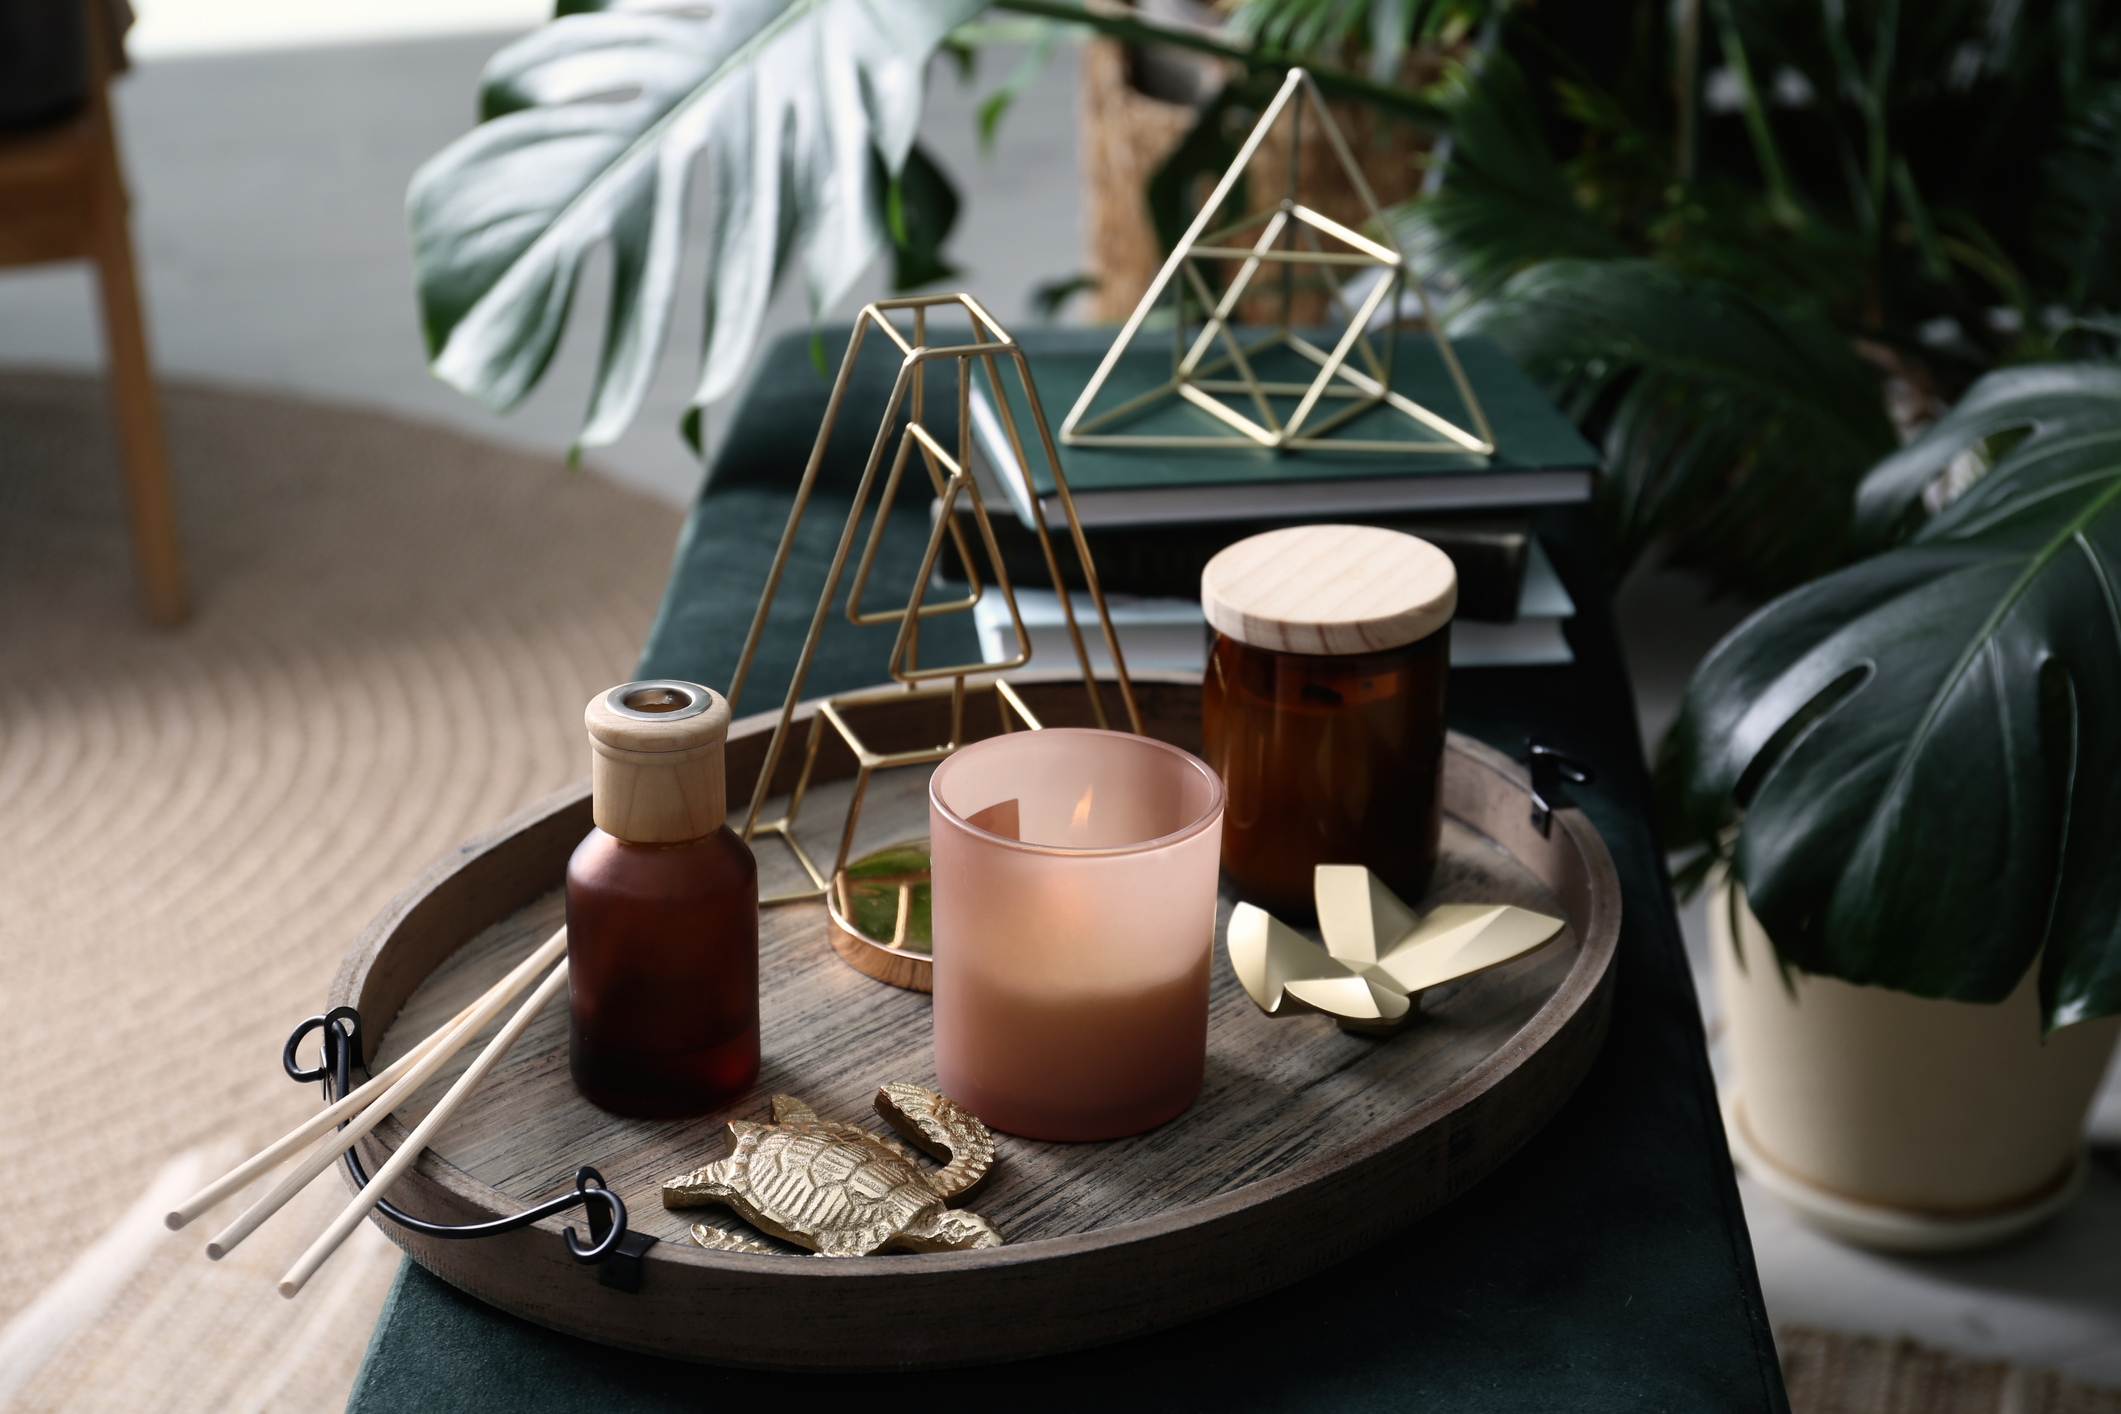
96NORTH sells the best soy wax candles on the market. We have a wide variety of naturally-scented candles, such as Madagascar vanilla and tropical coconut, which can transform your home into a serene, relaxing landscape.
Allow our candles to carry you to distant countries, atmospheres, and settings. Embrace their fragrance and journey through the aroma of beautiful exotic beaches and jaw-dropping lush jungles.
Allow the luxurious scents of 96NORTH’s candles to turn your house into a comfortable and relaxing home. Shop our selection of soy scented candles on our website.
Candle wax dye is a synthetic chemical specifically used in candle wax. It can come in liquid, flake, and block form, allowing you to color candle wax easily.
You can use gel or paste food coloring to dye candle wax. However, you can’t use liquid food coloring as it will not mix with the oils in the wax.
You should avoid using crayons to color candles as they may cause burning issues. The wax in crayons differs from the wax in candles and is not meant to be burned.