
Candle tunneling happens when the wax melts down the center while a thick ring remains around the vessel. It wastes wax, reduces fragrance performance, and can eventually make the wick difficult to light. The problem is often caused by a short first burn, drafts, an undersized wick, or a mismatch between the wick and vessel.
Most tunneling can be improved with controlled heat and better burn habits. The four methods below explain how to level the wax safely, followed by candle features that can support a more even melt pool.
The Science of Wax Memory: Why Candles Tunnel
To understand how to fix a tunneled candle, we must first understand the physics of the burn. Candle wax is a medium with a memory. This isn't a metaphorical concept; it refers to the physical behavior of the wax during its initial heating cycle. When you light a candle for the first time, the wax begins to melt in a circular pattern around the wick. If you extinguish the flame before that liquid pool reaches the very edges of the glass vessel, the wax sets a boundary. On the next burn, the candle will naturally follow the path of least resistance, melting only within that initial ring and leaving a hard cliff of wasted wax around the perimeter.
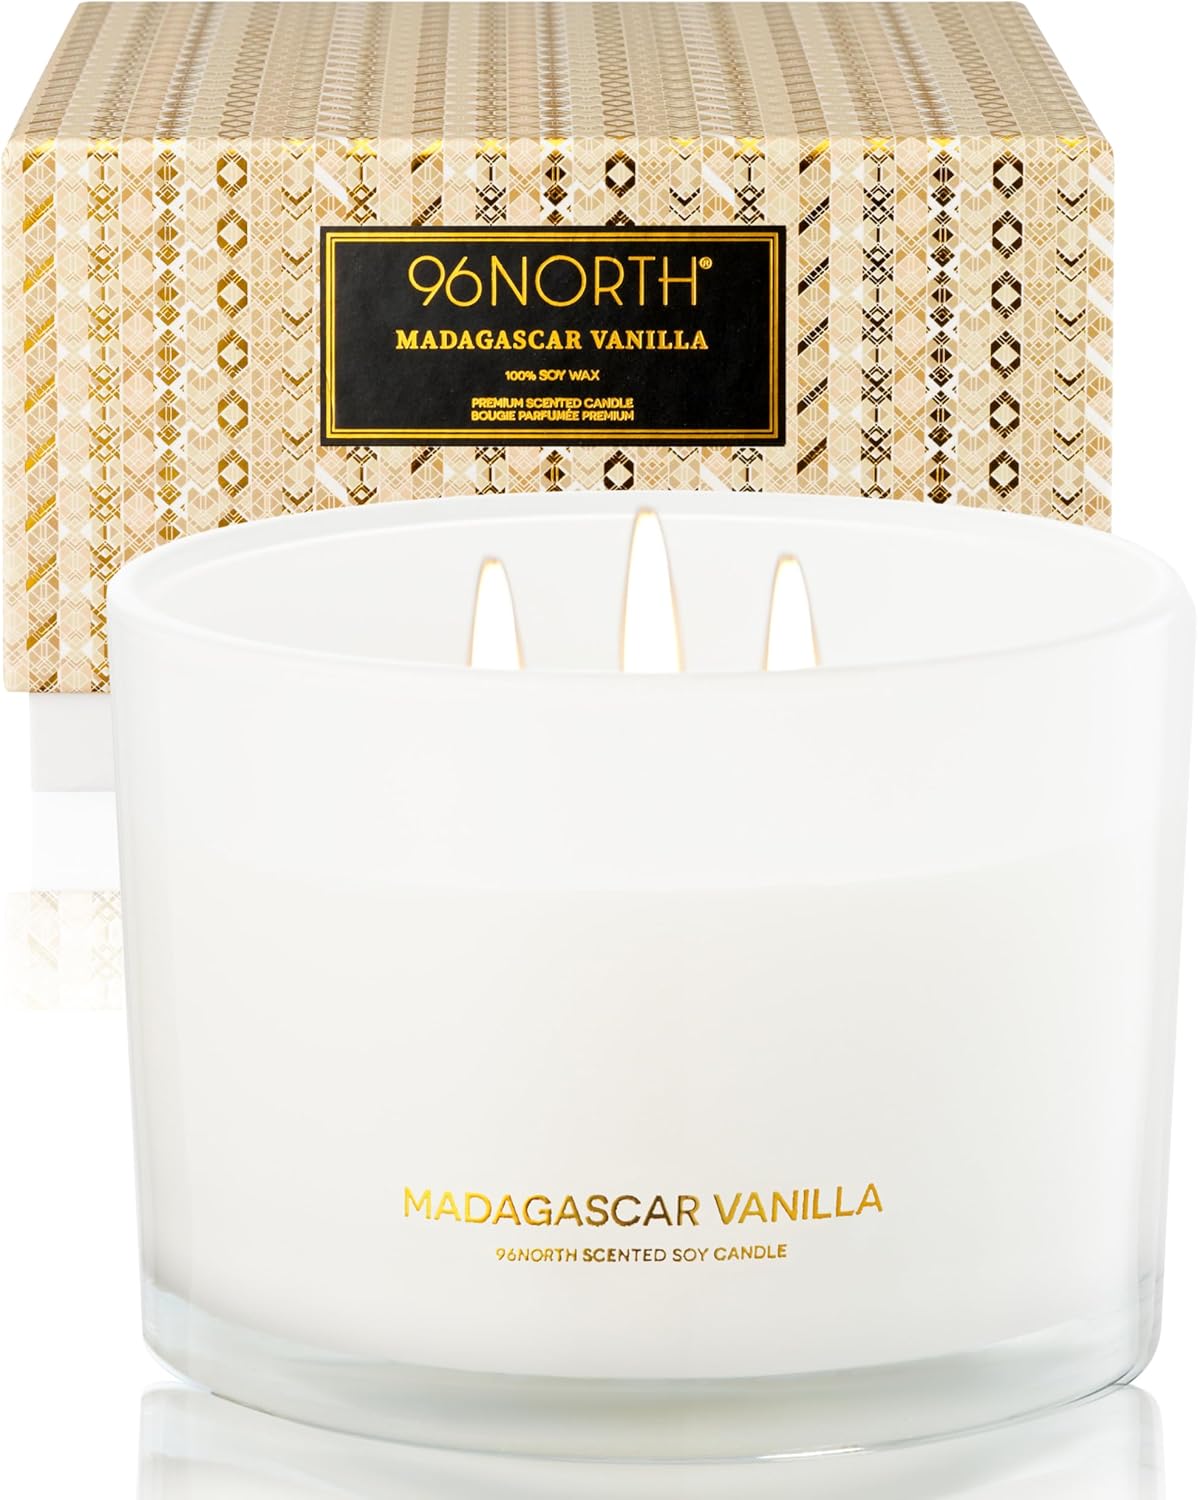
Environmental factors also play a significant role. Drafts from open windows or air conditioning vents can cool one side of the glass, preventing the wax from reaching the temperature necessary for a full melt. Furthermore, the type of wax matters. Paraffin wax, often found in mass-market candles, is harder and more prone to stubborn tunneling. In contrast, 100% natural soy wax like that used in the 96NORTH collection has a lower melting point. While soy is more forgiving and provides a cleaner throw, it still requires a proper first burn to ensure the heat distribution remains even throughout the life of the candle. Technical factors, such as an under-wicked design where the wick is too small for the jar's diameter, can also cause permanent tunneling that no amount of care can fully resolve.
How to Fix Candle Tunneling: 4 Proven Methods
A tunneled candle can often be reset by carefully warming or removing the excess wax. Use the method that fits the depth of the tunnel and the candle's vessel.
1. The Aluminum Foil Method
This method uses the candle's own heat to soften and melt the raised outer ring of wax.
• Step 1: Light your candle.
• Step 2: Carefully wrap a piece of aluminum foil around the top of the jar, forming a loose cover.
• Step 3: Cut a small hole (about 1 inch) in the center of the foil to allow the flame to breathe and smoke to escape.
• Step 4: Let the candle burn for 1-2 hours. The foil reflects heat back onto the hard outer wax, melting it into the center pool.
Safety Warning: Never leave the candle unattended. Stop if the flame grows, the vessel becomes excessively hot, or the manufacturer advises against using foil. Allow the candle to cool before removing it.
2. The Hairdryer Method
For shallow tunneling, a household hairdryer can soften the raised wax without lighting the wick. Keep the airflow low, hold the dryer at a safe distance, and stop if the vessel becomes excessively hot.
• Step 1: Place the candle on a flat, heat-resistant surface.
• Step 2: Use a low or medium heat setting with the lowest practical airflow.
• Step 3: Direct the heat at the high edges of the wax until they melt and flow into the center.
• Step 4: Once the surface is level, let it cool and re-harden completely before lighting.
3. The Candle Warmer Method
A top-down candle warmer can soften the raised wax around a deep tunnel without placing the candle in an oven or exposing the vessel to direct flame.
• Step 1: Place the candle on a stable, heat-resistant surface beneath a warmer designed for jar candles.
• Step 2: Start with the warmer at its lowest setting and watch the wax surface closely.
• Step 3: Warm only until the raised outer wax softens and the surface begins to level.
• Step 4: Switch off the warmer and allow the candle to cool completely before trimming and relighting the wick.
4. The Scooping Method
If there is not enough time for a heat-based fix, use a spoon to remove a small amount of hard wax above the wick level. This wastes some wax but can prevent the wick from drowning. The removed wax can be used in a compatible wax warmer.
The 10 Best Candles for a Consistent, Even Burn

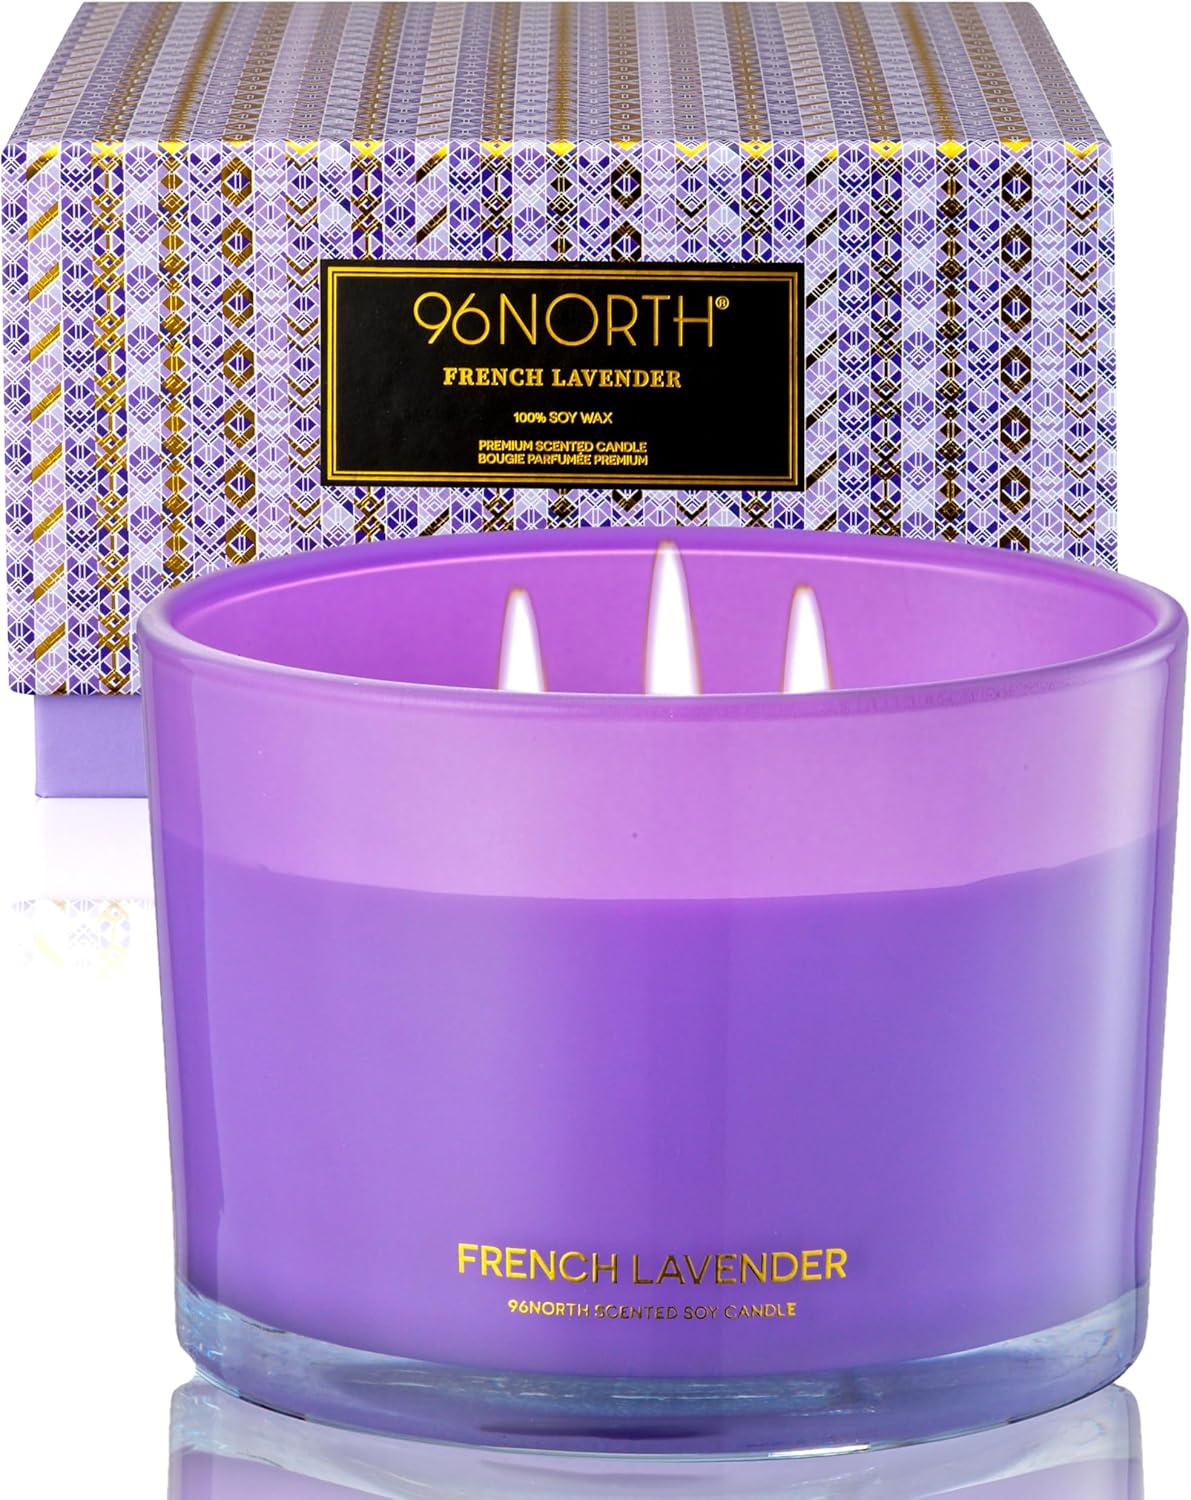
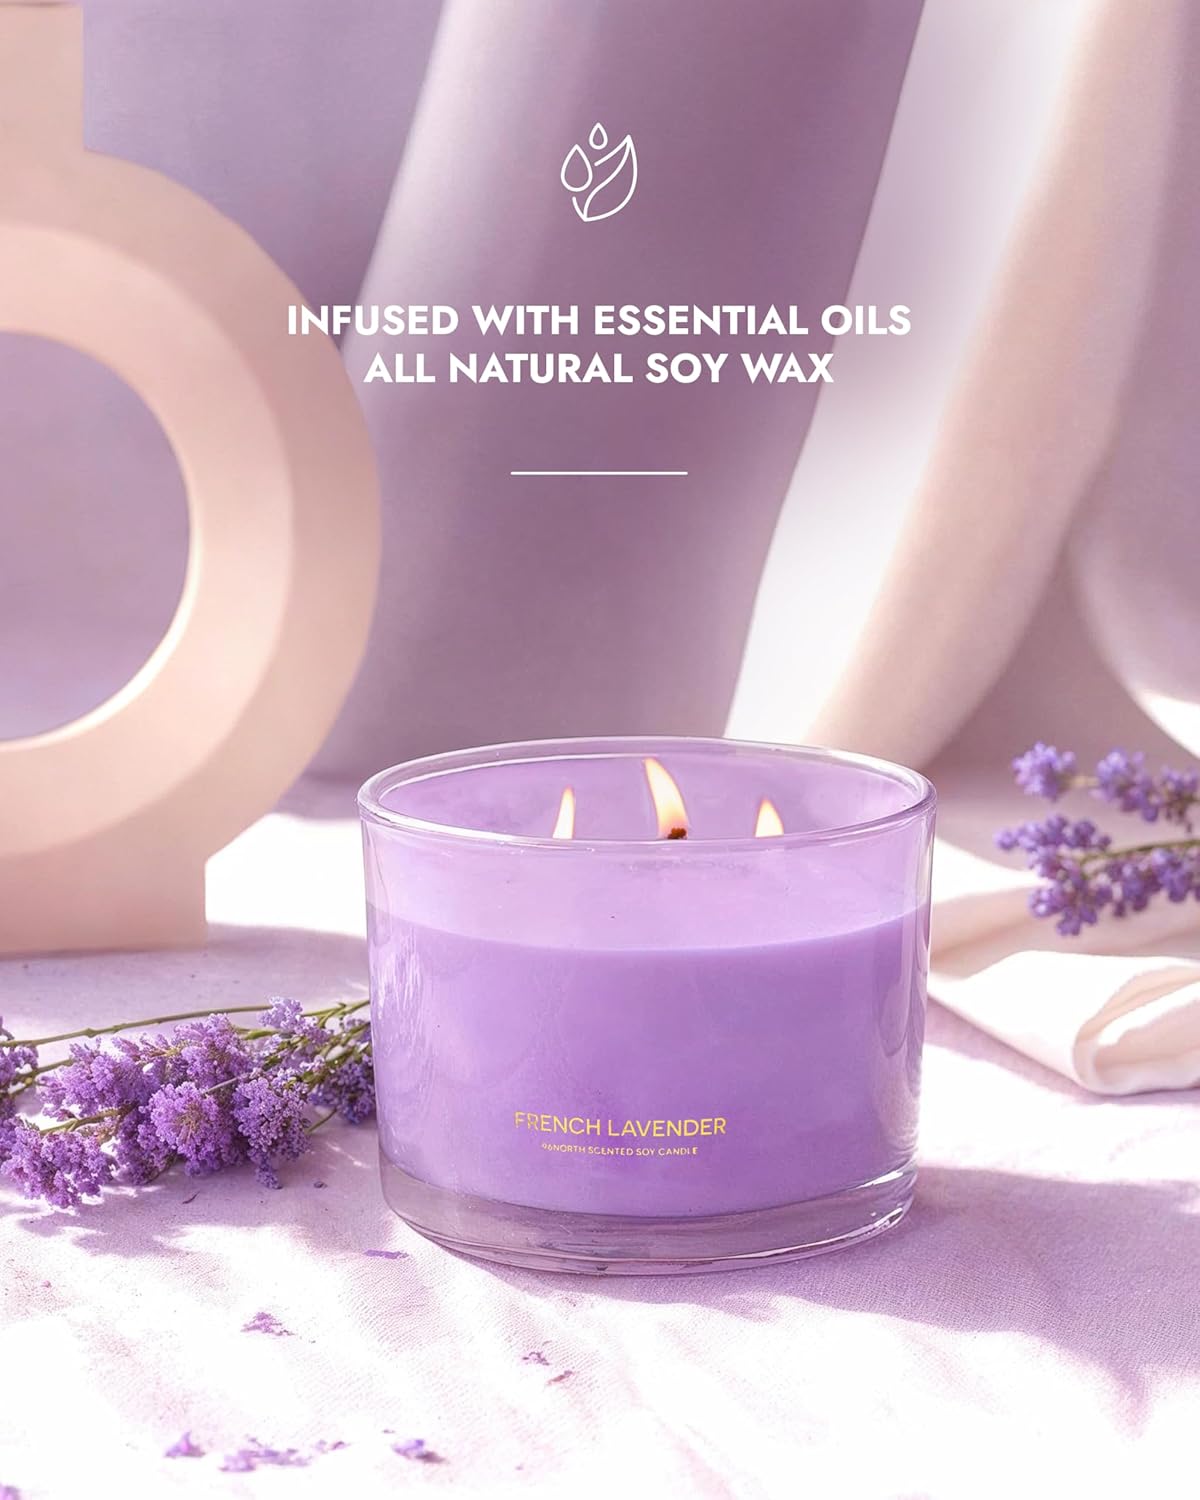
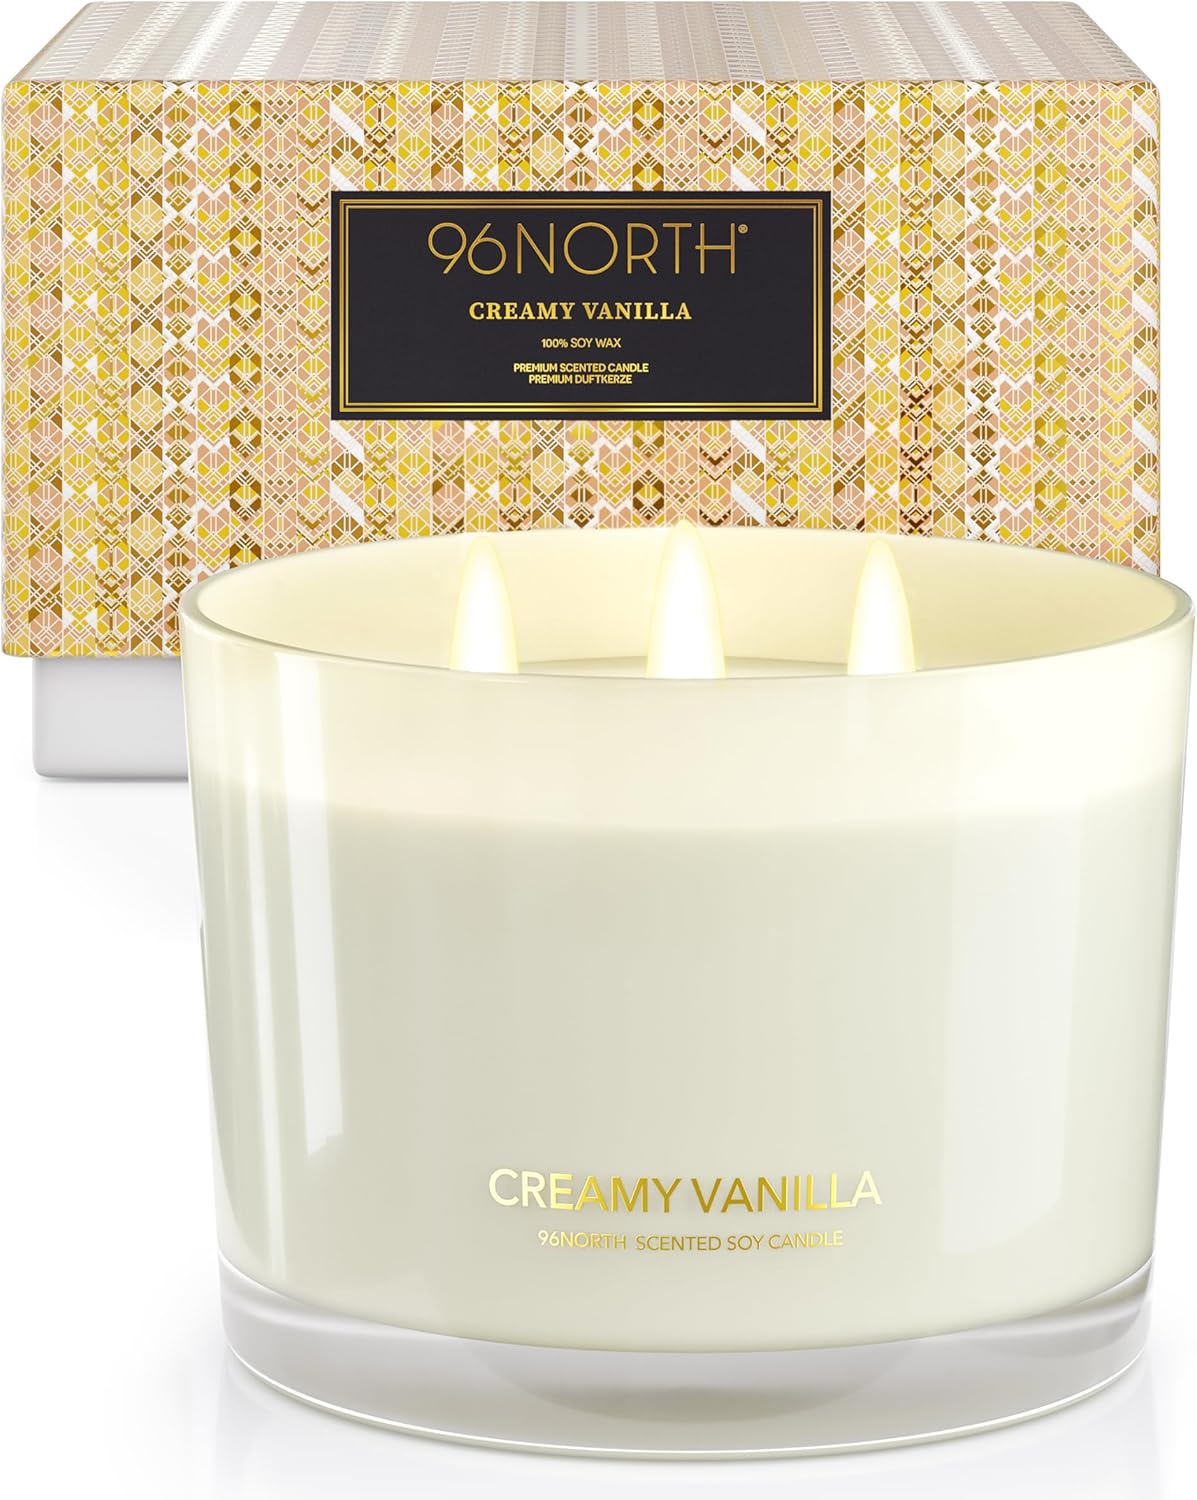
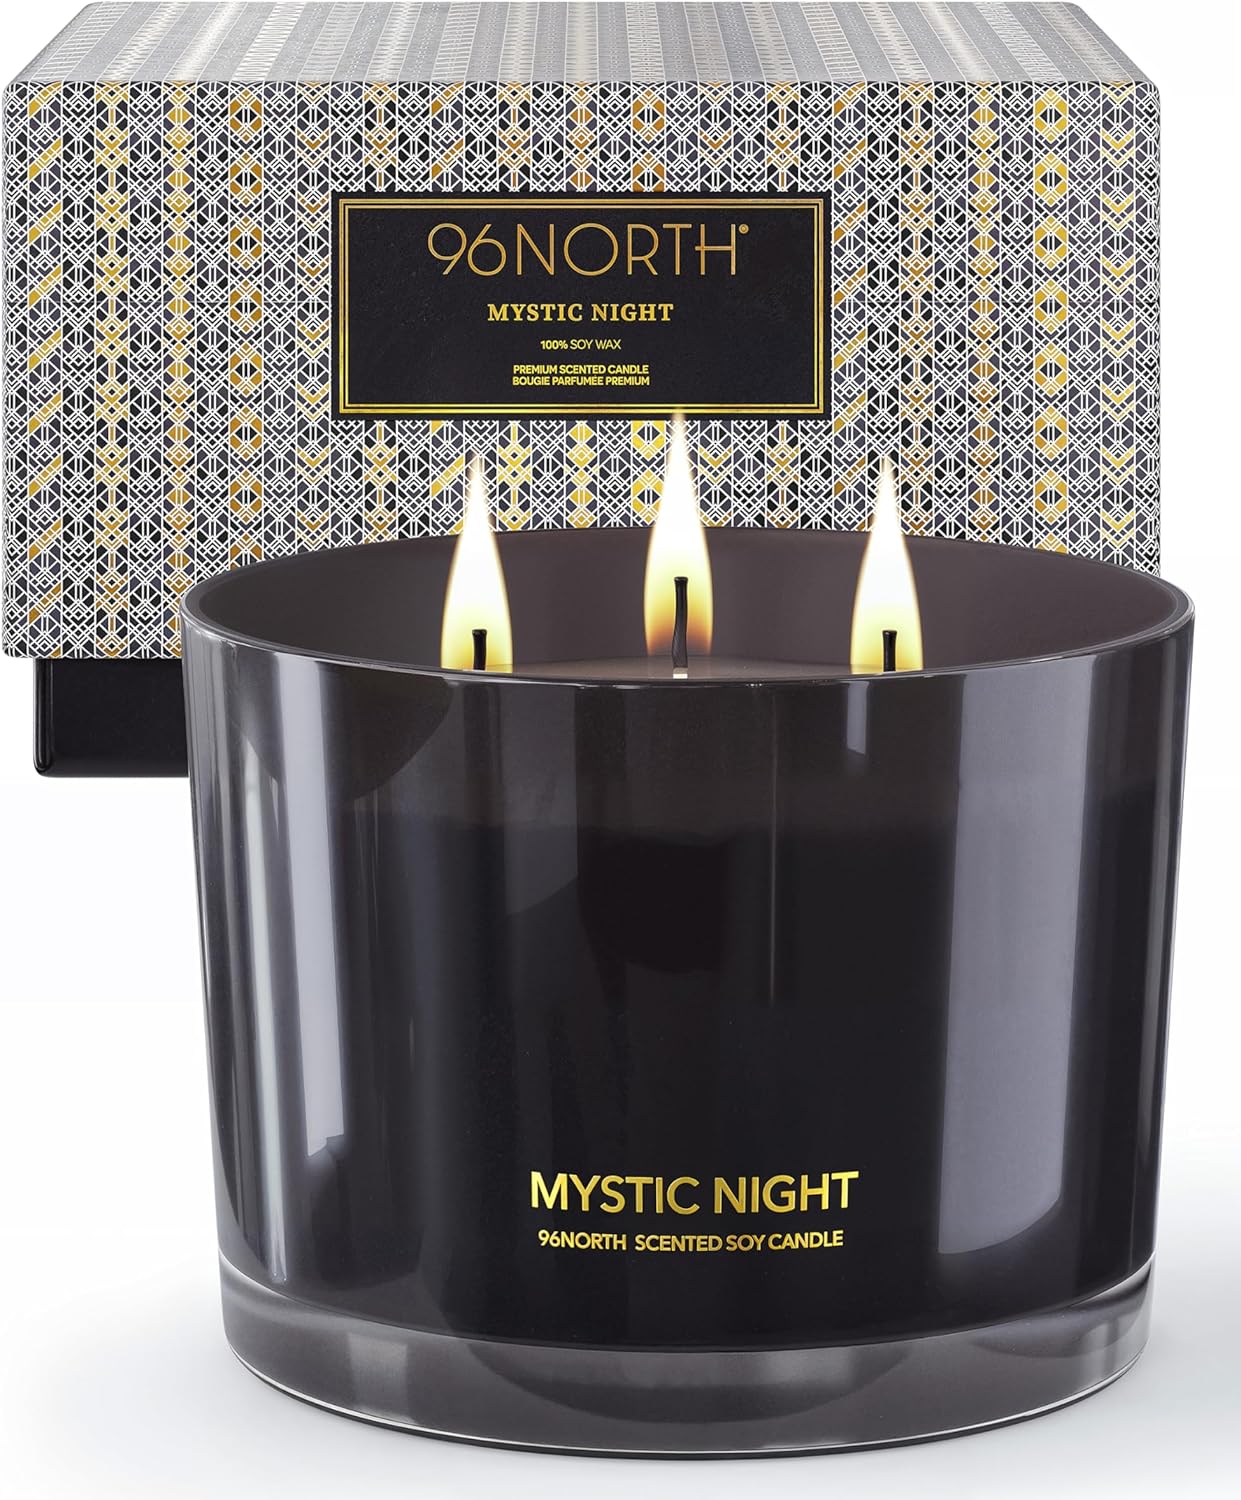
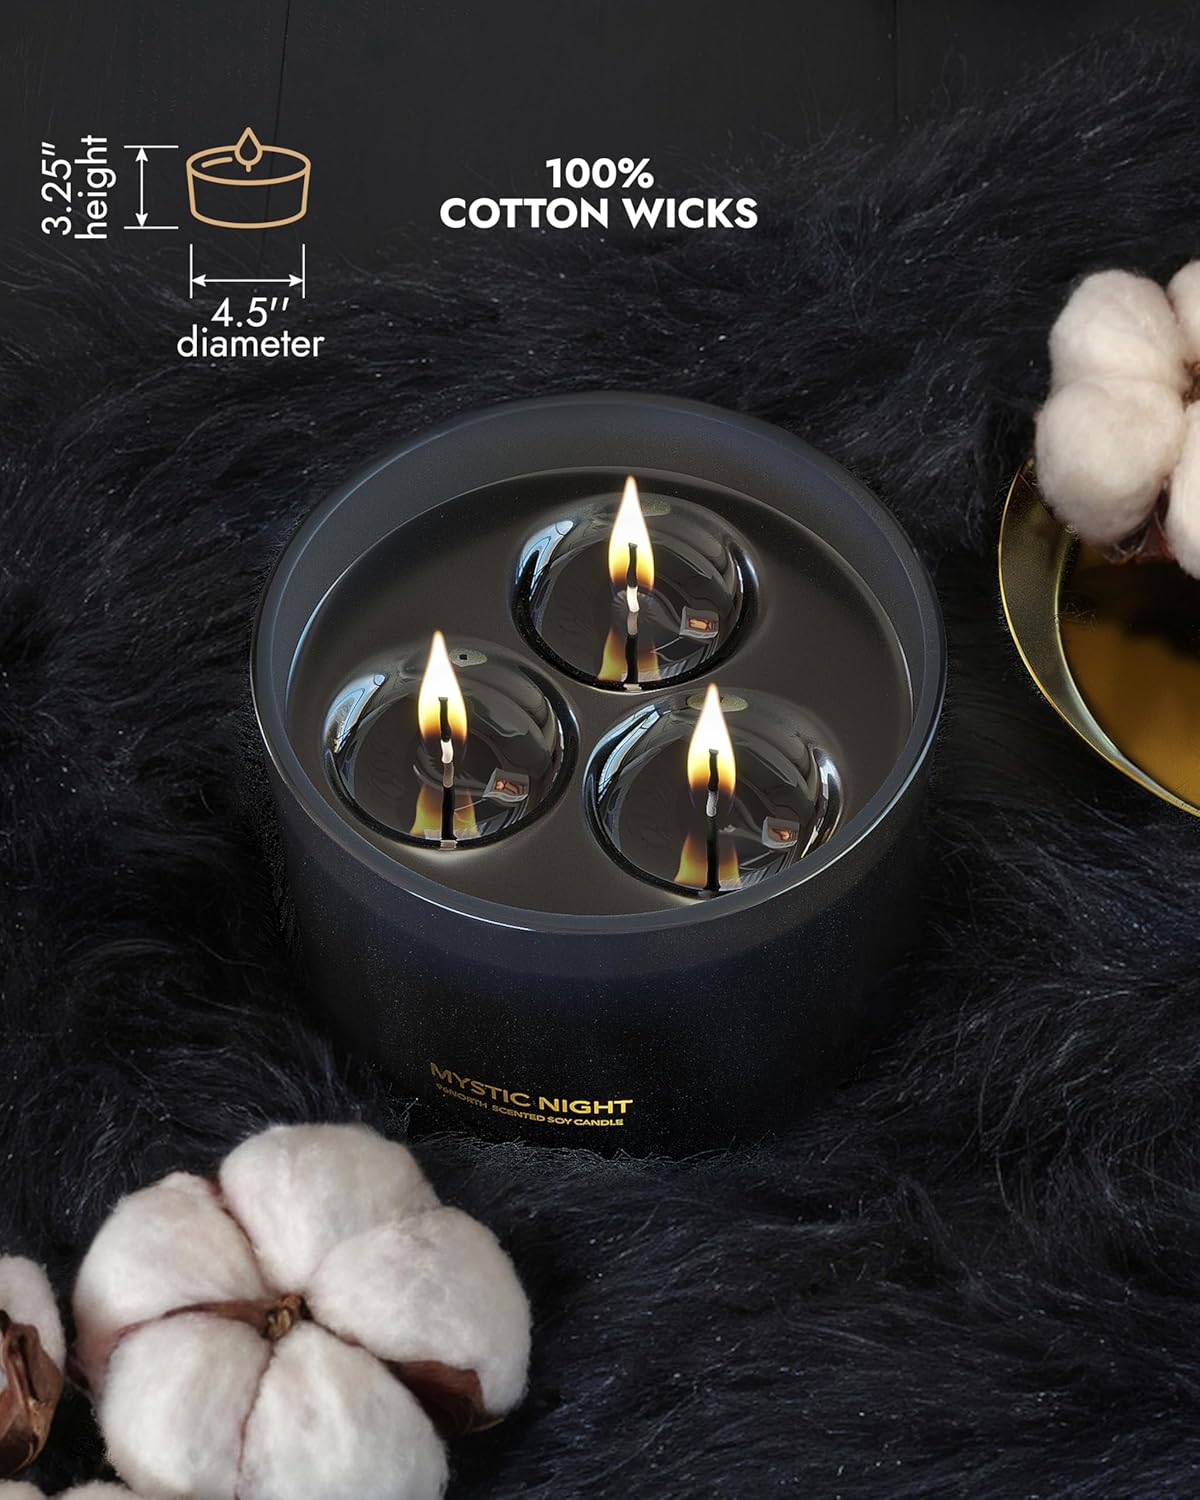
The 96NORTH French Lavender candle uses 100% natural soy wax and three lead-free cotton wicks. The three-wick layout distributes heat across the wide vessel and helps the melt pool reach the edges when the candle is burned long enough and kept away from drafts.
Key Features:
• 100% Natural Soy Wax, Triple-wick design, 50+ hour burn time.
Pros:
• Strong fragrance, wide three-wick melt pool, and even performance when maintained correctly.
Cons:
• Requires a draft-free surface for optimal performance.
Best For: Shoppers who want a wide three-wick lavender candle and are prepared to follow the first-burn instructions.
2. Voluspa Baltic Amber

Voluspa Baltic Amber uses a proprietary coconut wax blend in an embossed glass vessel. The relatively soft wax and wide jar can support an even melt pool when the first burn is long enough.
Pros:
• Even burn with minimal visible soot when the wick is maintained correctly.
Cons:
• Scent can be subtle in very large rooms.
3. WoodWick Ellipse Candle

The WoodWick Ellipse features the patented Hearthwick flame, a long, horizontal wooden wick. This design creates a wide, consistent heat source that spans the length of the vessel, ensuring the wax melts evenly from side to side.
Pros:
• Soothing crackling sound, wide melt pool.
Cons:
• Burns through wax faster than traditional cotton wicks.
4. Goose Creek Large 2-Wick Jar
Goose Creek uses two wicks in many of its large jars, creating two heat points across the surface. This can help the wax melt more evenly than it would around one small wick.
Pros:
• Very affordable, strong fragrance.
Cons:
• Uses a paraffin wax blend.
5. Nest New York Bamboo Luxury Candle

Nest New York Bamboo uses a proprietary wax blend and a vessel sized for its wick. Allowing enough time for the first melt pool can reduce the risk of tunneling.
Pros:
• Strong scent throw and polished glass vessel.
Cons:
• Premium pricing.
6. Apotheke Charcoal Candle
Apotheke Charcoal is hand-poured with a soy wax blend in a matte black vessel. A centered wick and a sufficiently long first burn help the wax melt evenly.
Pros:
• Long stated burn time and minimalist presentation.
Cons:
• Single wick requires patience for the first burn.
7. DW Home Rich Cream Soy Candle
DW Home often uses two or three wicks in its wider candles. The additional heat points can help the wax reach the vessel edges when the candle is burned and maintained correctly.
Pros:
• Excellent value, consistent performance.
Cons:
• The wick can develop a mushroom-shaped cap if it is not trimmed.
8. Sand + Fog Ocean & Sea Salt
Inspired by the California coast, these candles often come in wide, shallow jars with multiple wicks. This geometry is naturally resistant to tunneling as the heat doesn't have to travel far to reach the glass.
Pros:
• Large surface area for great scent throw.
Cons:
• Burns down faster due to the large surface area.
9. Bath & Body Works White Barn 3-Wick
White Barn three-wick candles use a wide vessel and three heat points, which can help the wax form an even melt pool when the wicks are trimmed and the candle is kept away from drafts.
Pros:
• Wide three-wick melt pool.
Cons:
• Can burn hot and produce soot if not trimmed.
10. Yankee Candle Signature Large Jar
The updated Signature series features two wicks, a major improvement over the classic single-wick jars. This change ensures a more level burn while maintaining the nostalgic scents Yankee is known for.
Pros:
• Improved burn over classic jars, long-lasting.
Cons:
• Still contains some paraffin in the blend.
Buying Guide: How to Choose a Tunnel-Free Candle
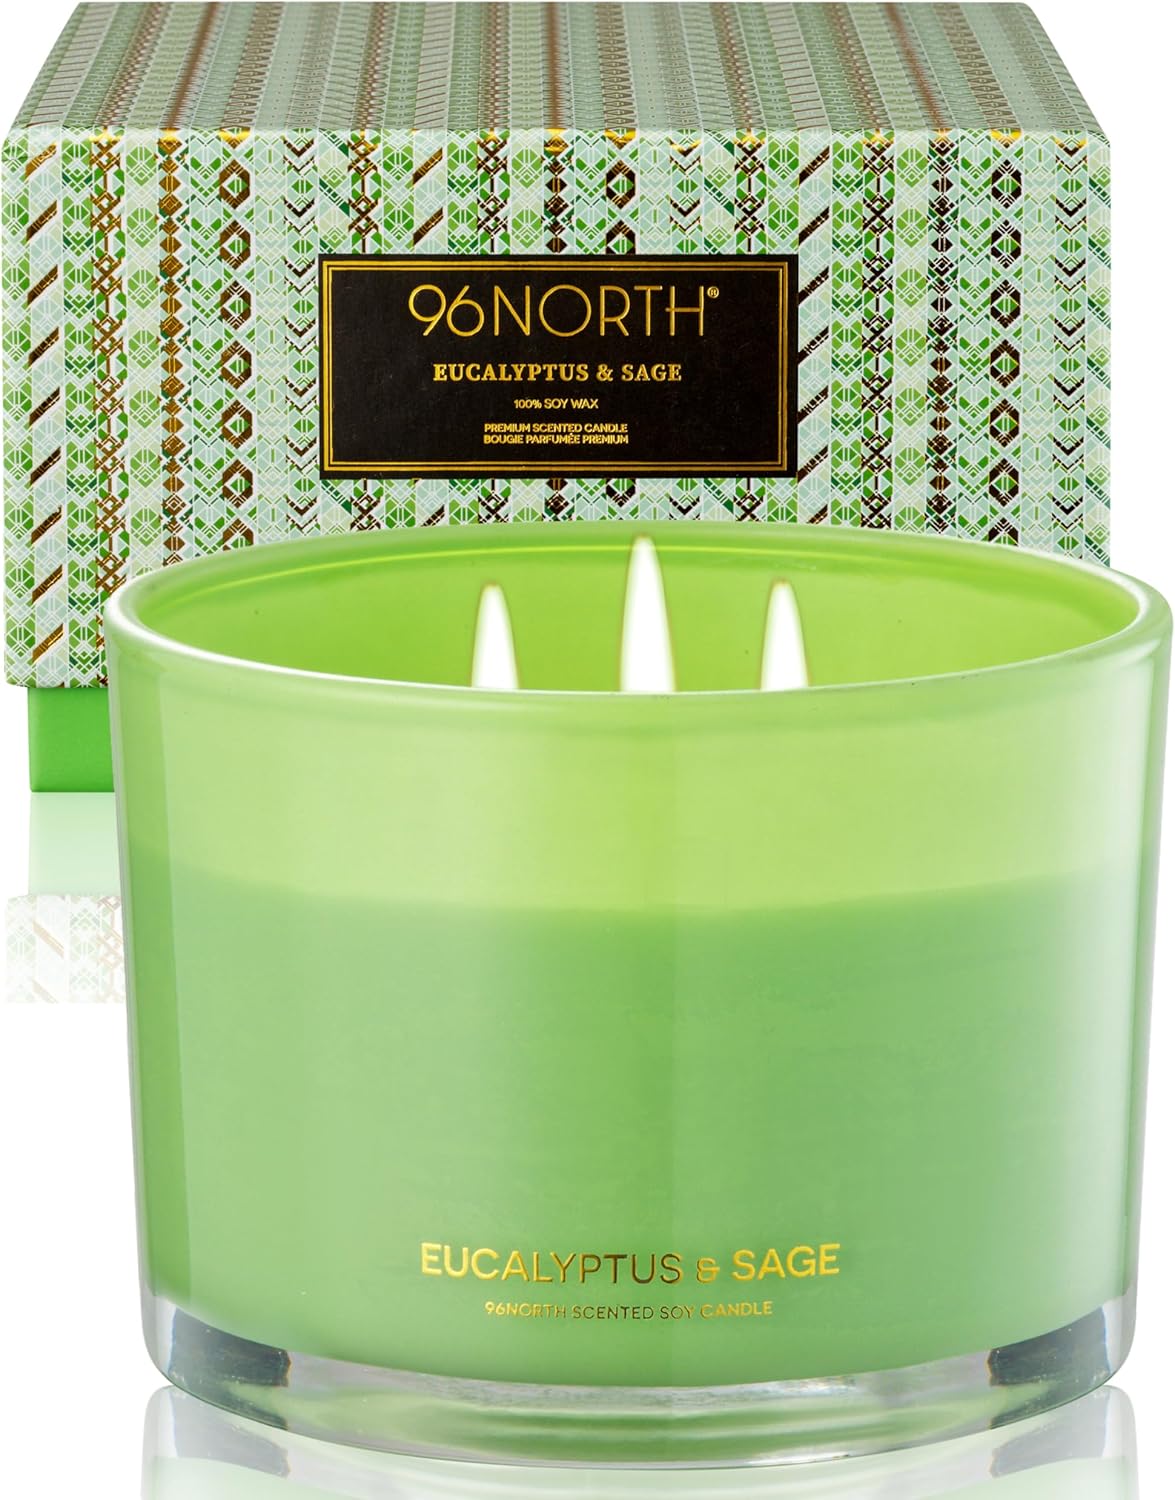
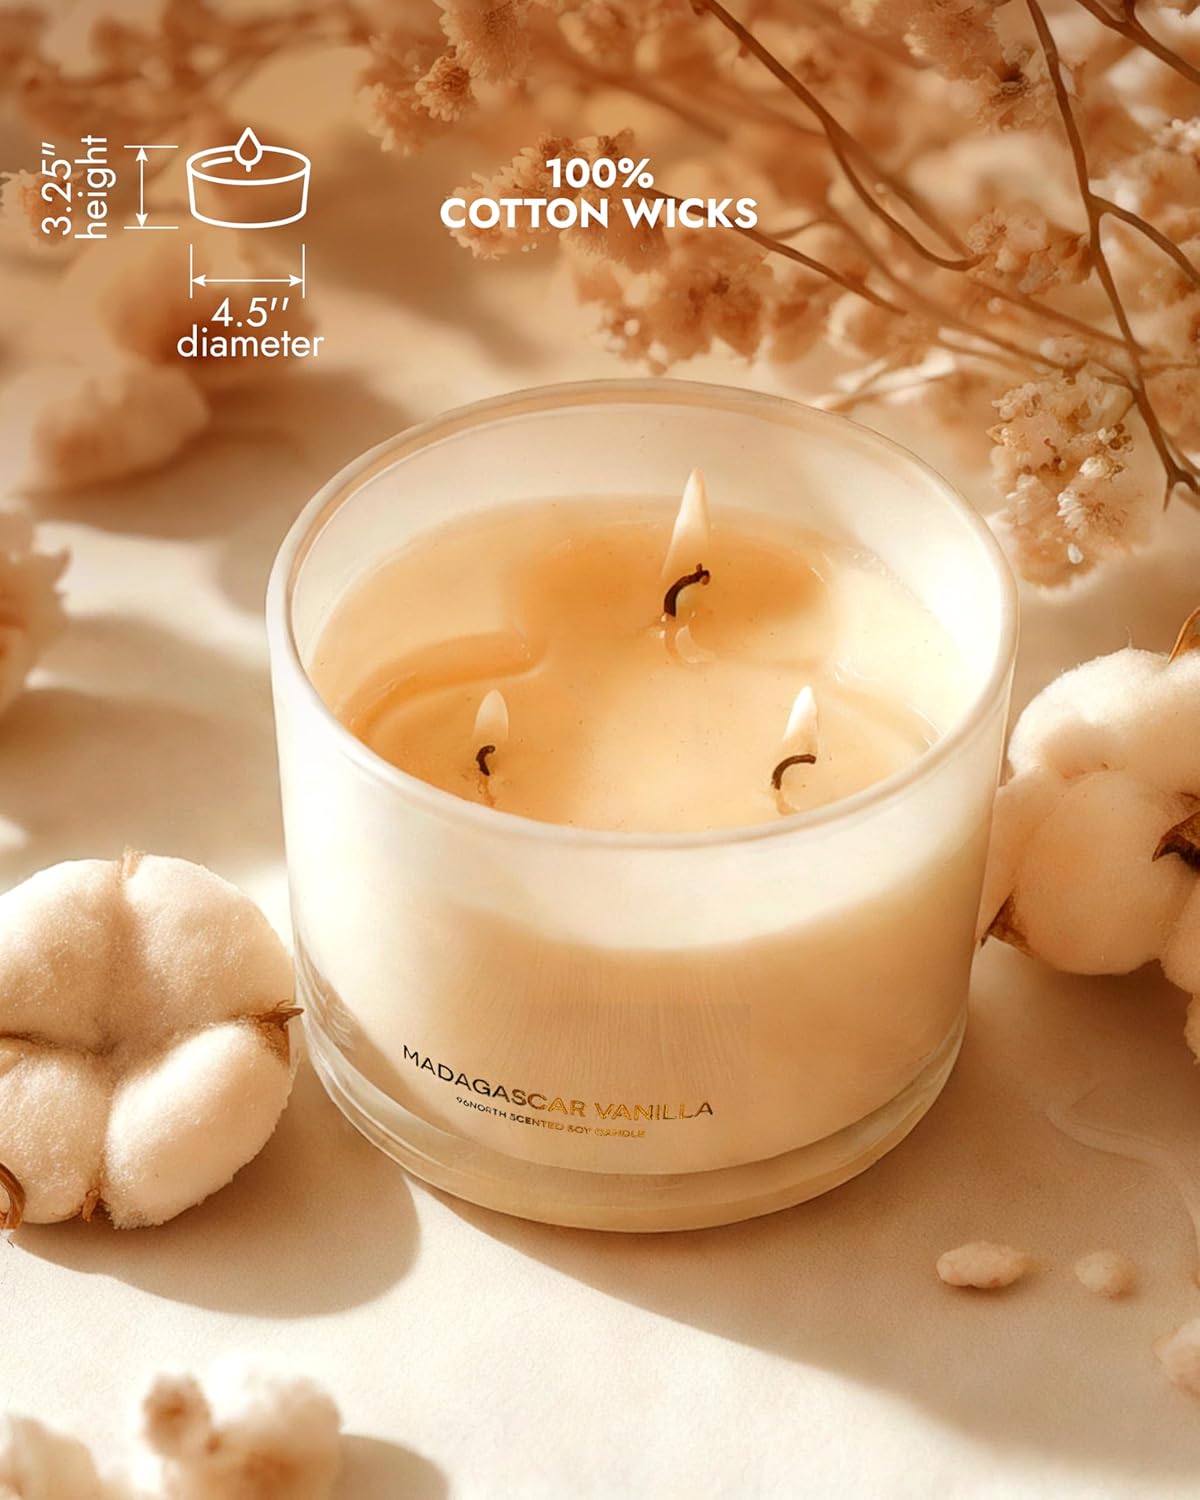
Preventing tunneling starts at the point of purchase. When selecting a candle for your daily routine, consider the Wick-to-Diameter ratio. For wider vessels (anything over 3 inches), a single wick often struggles to generate enough heat to reach the edges. This is why 96NORTH utilizes a 3-wick system for our Luxury Collection; it ensures the heat is distributed efficiently, protecting your investment and your peace of mind.
Additionally, look at the wax type. Soy and coconut waxes have lower melting points than paraffin. This makes them more forgiving if you accidentally extinguish the candle slightly too early as the wax is softer and easier to reset using the foil method. Finally, always check that the wick is perfectly centered. A displaced wick will cause one side of the candle to melt while the other remains hard, leading to an uneven burn that is difficult to correct.
Conclusion
Regular wick trimming, a long enough first burn, and protection from drafts can prevent many tunneling problems. The foil, hairdryer, candle warmer, and scooping methods can help level wax that has already formed an uneven ring.
Choose a vessel and wick configuration that suits the candle's diameter, then follow the manufacturer's burn-time and safety instructions. Consistent care will preserve more wax and improve the candle's performance.
FAQ
Why does my candle keep tunneling even after I fix it?
If a candle continues to tunnel after a fix, it is likely under-wicked. This means the wick is physically too small to produce the heat required for that specific jar size. In this case, you may need to use the foil method for every burn or repurpose the wax for a warmer.
How long should I burn a candle for the first time?
A good rule of thumb is one hour of burn time for every inch of the candle's diameter. For a standard 3-wick candle, this usually means allowing it to burn for at least 2 to 3 hours during its first lighting.
Is a tunneled candle dangerous?
While not inherently dangerous, tunneling can cause the wick to drown in a deep pool of wax, leading to a weak, flickering flame and incomplete combustion, which produces more soot and smoke.